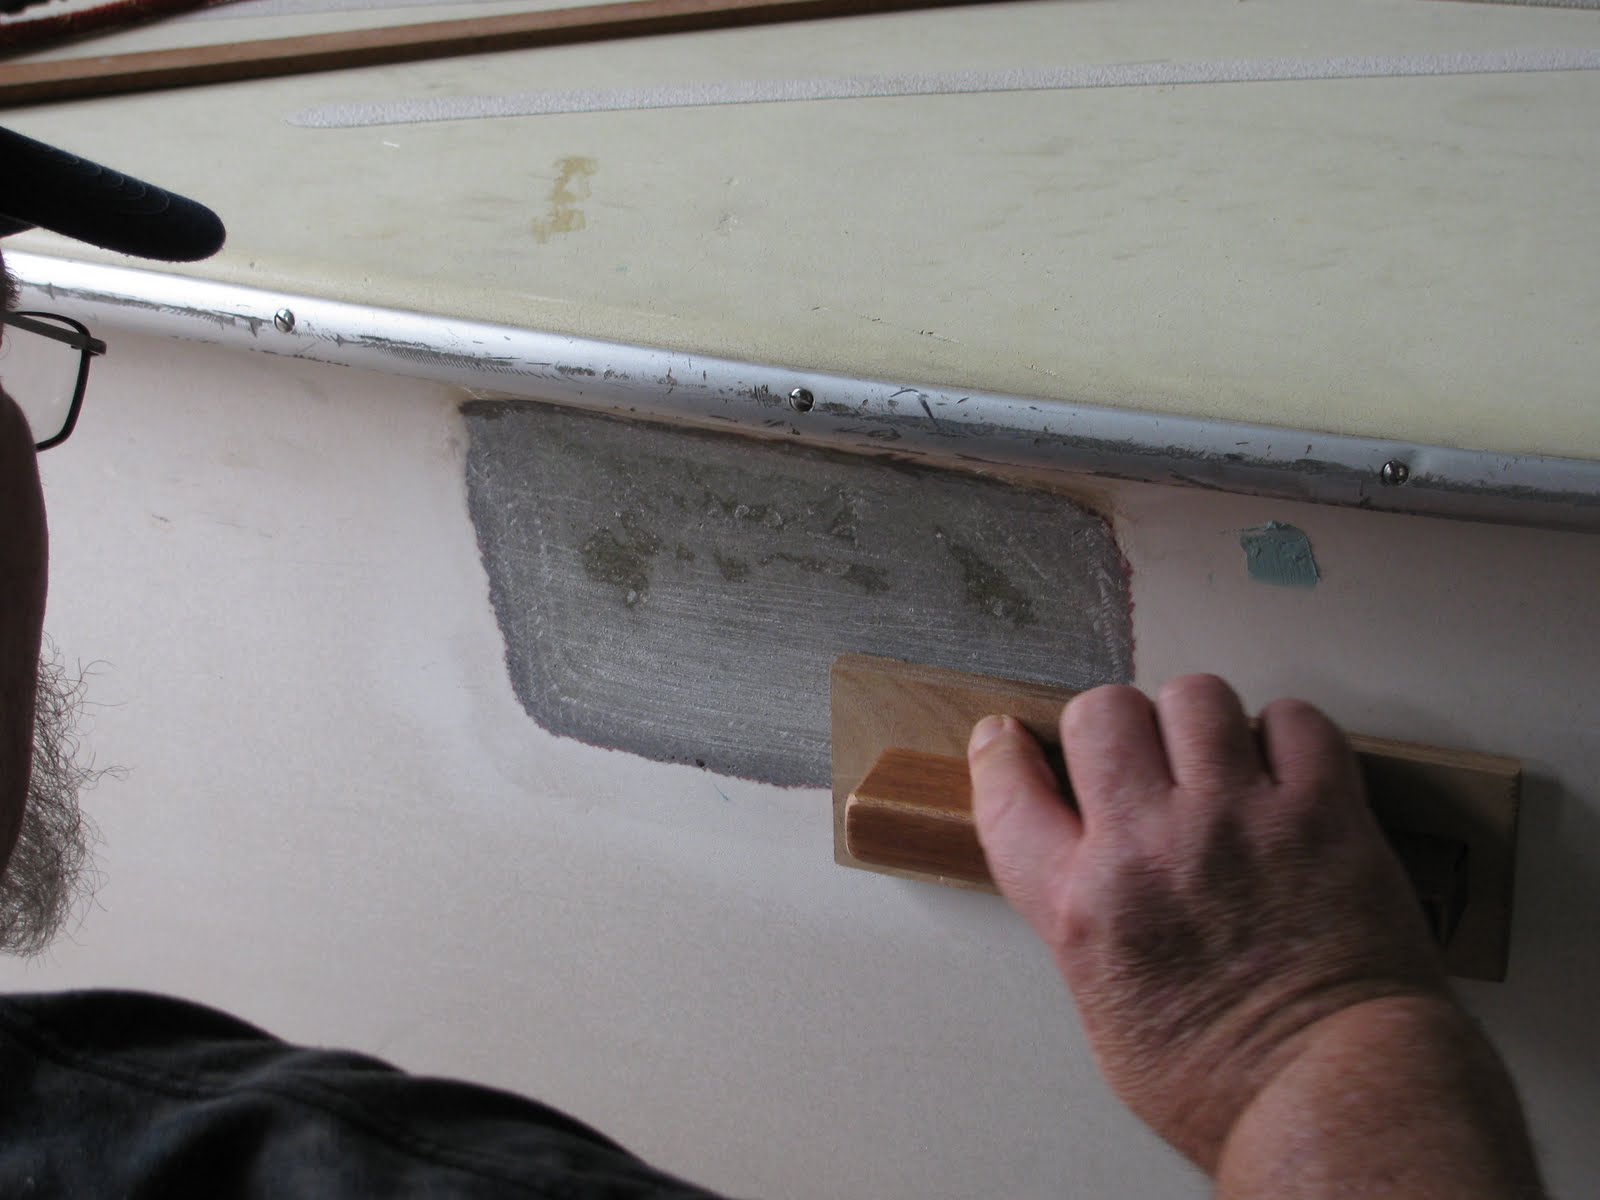
Sanding the glass smooth and flush with the hull

Another view of the sanded area
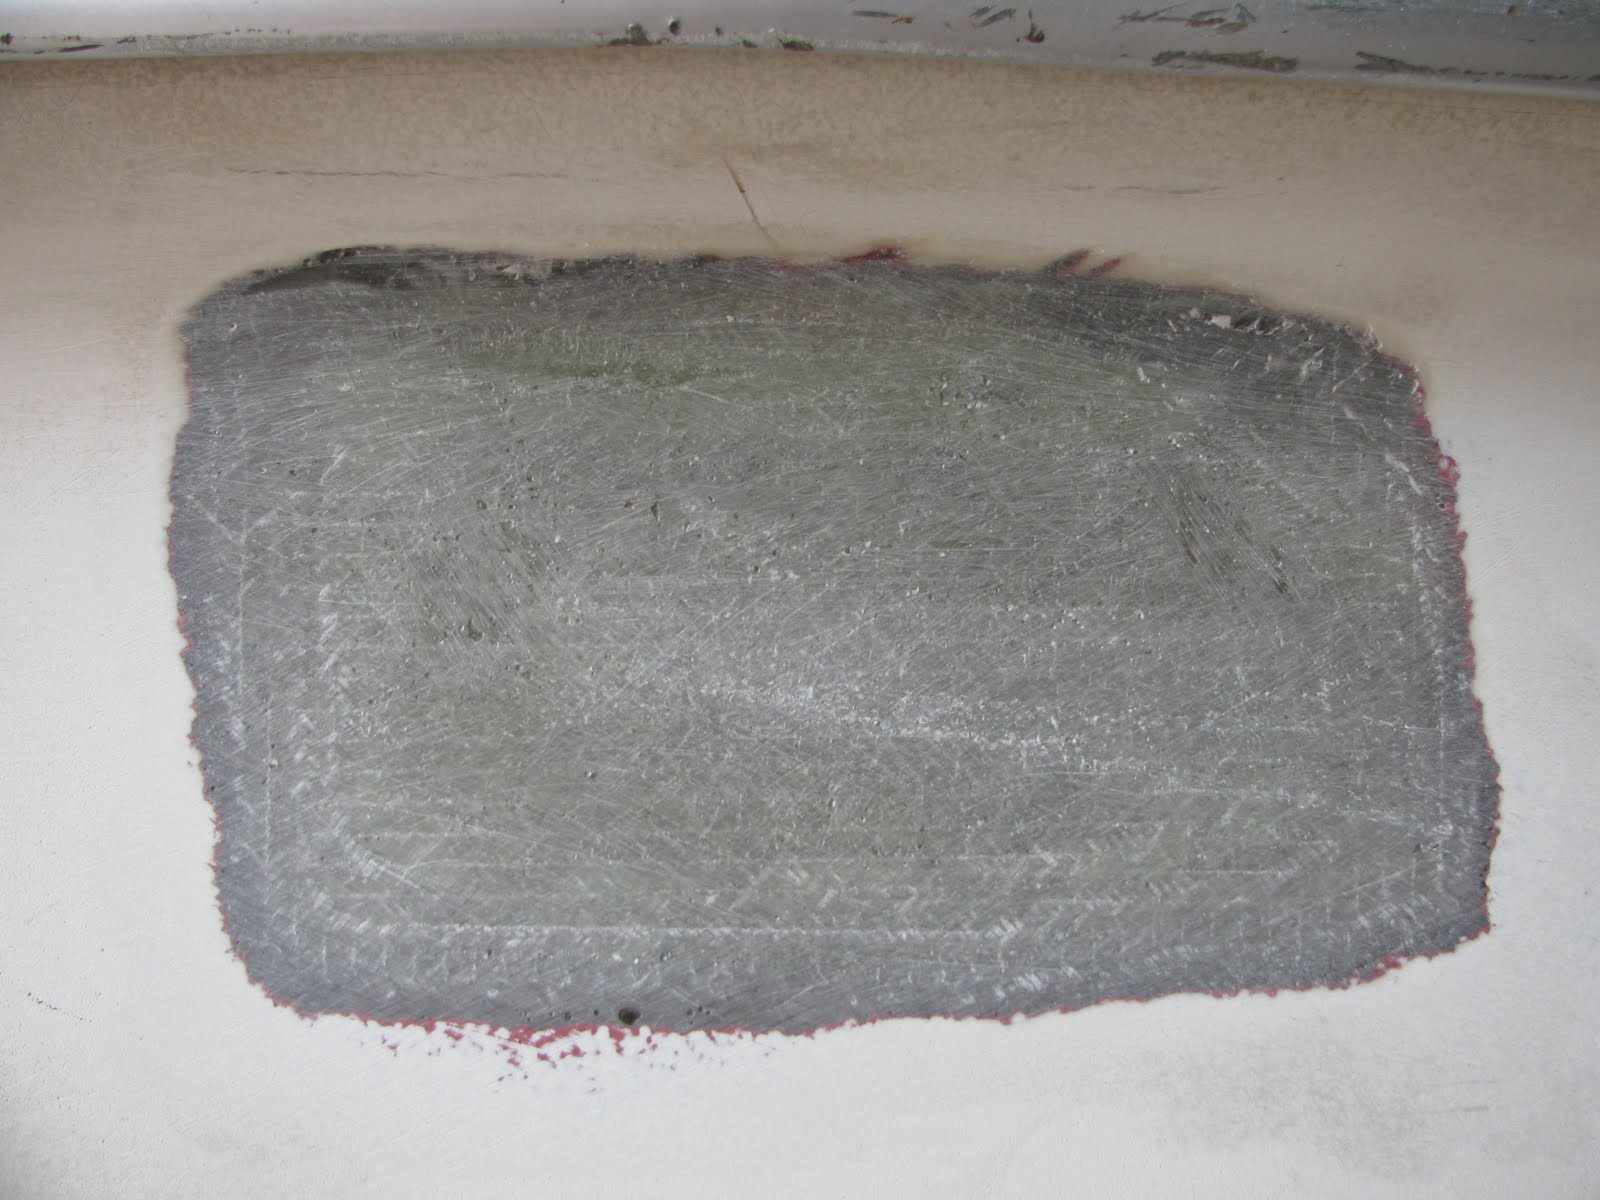
Sanded and ready to fill the inevitable small voids

The filler applied is 3M Marine Filler which sets up quickly and sands well
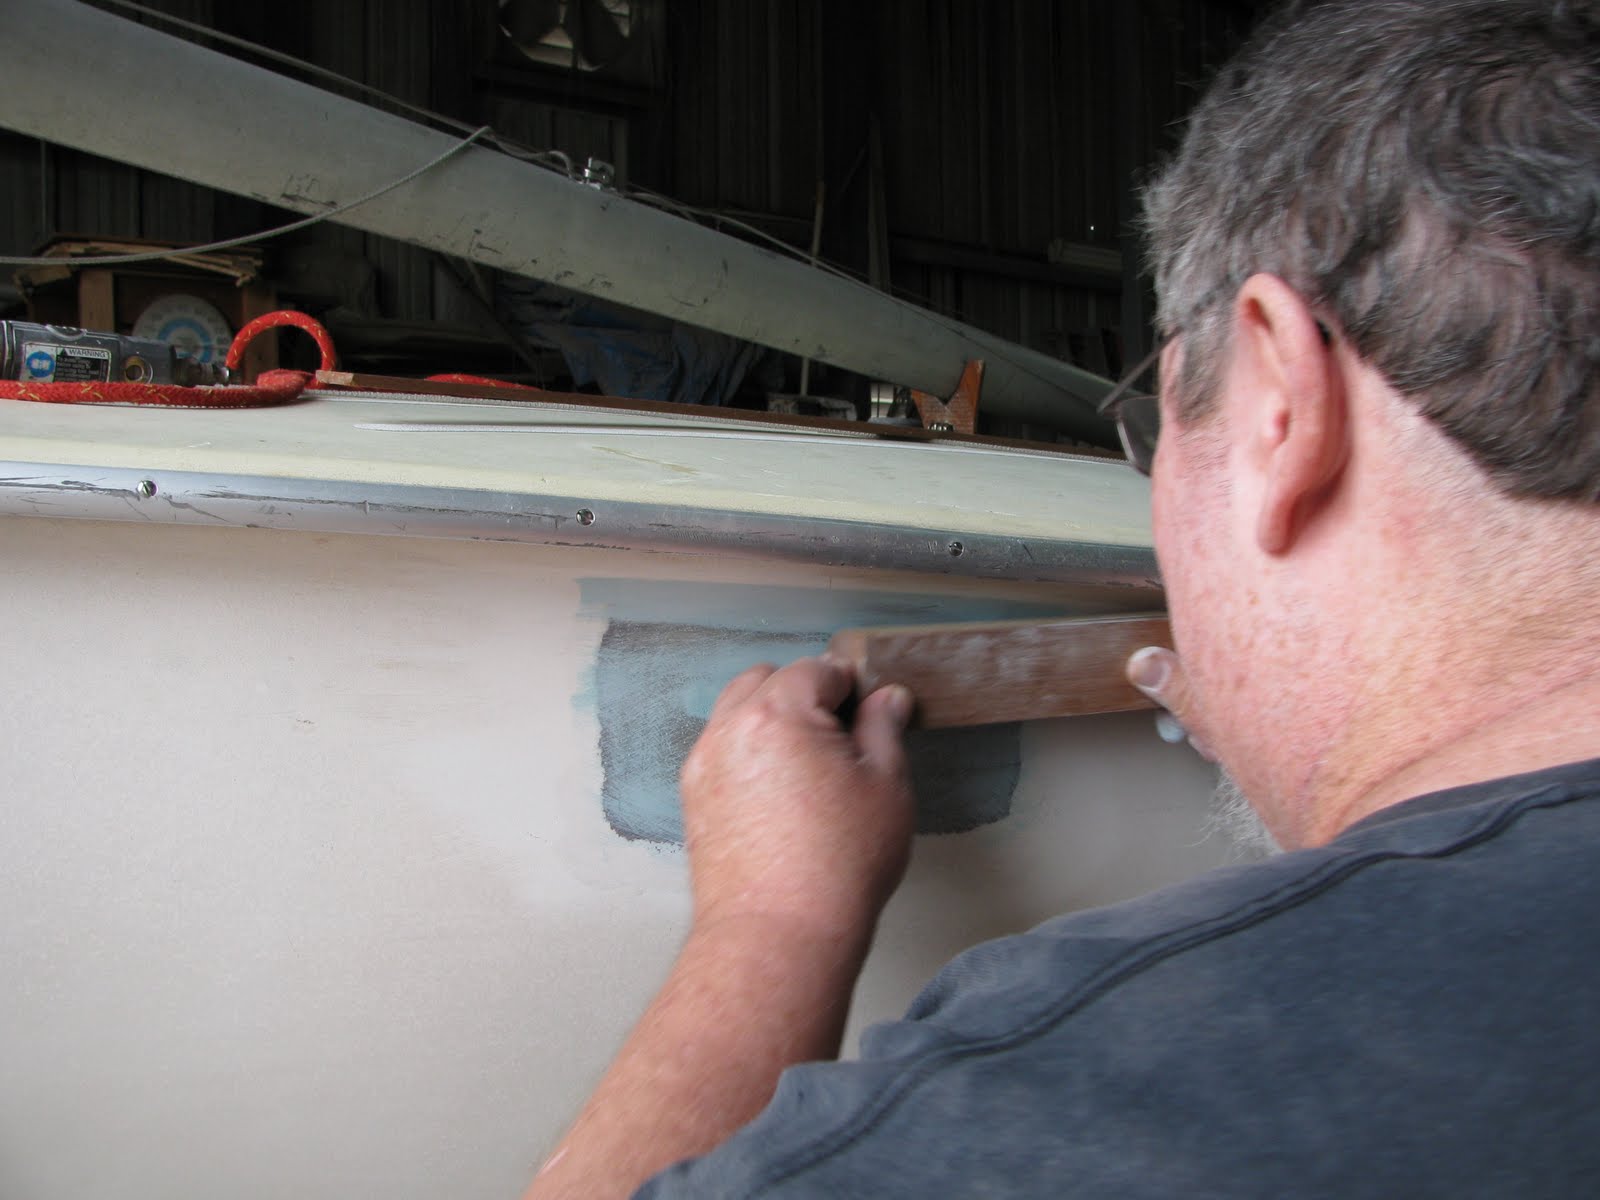
Sanding the filler smooth
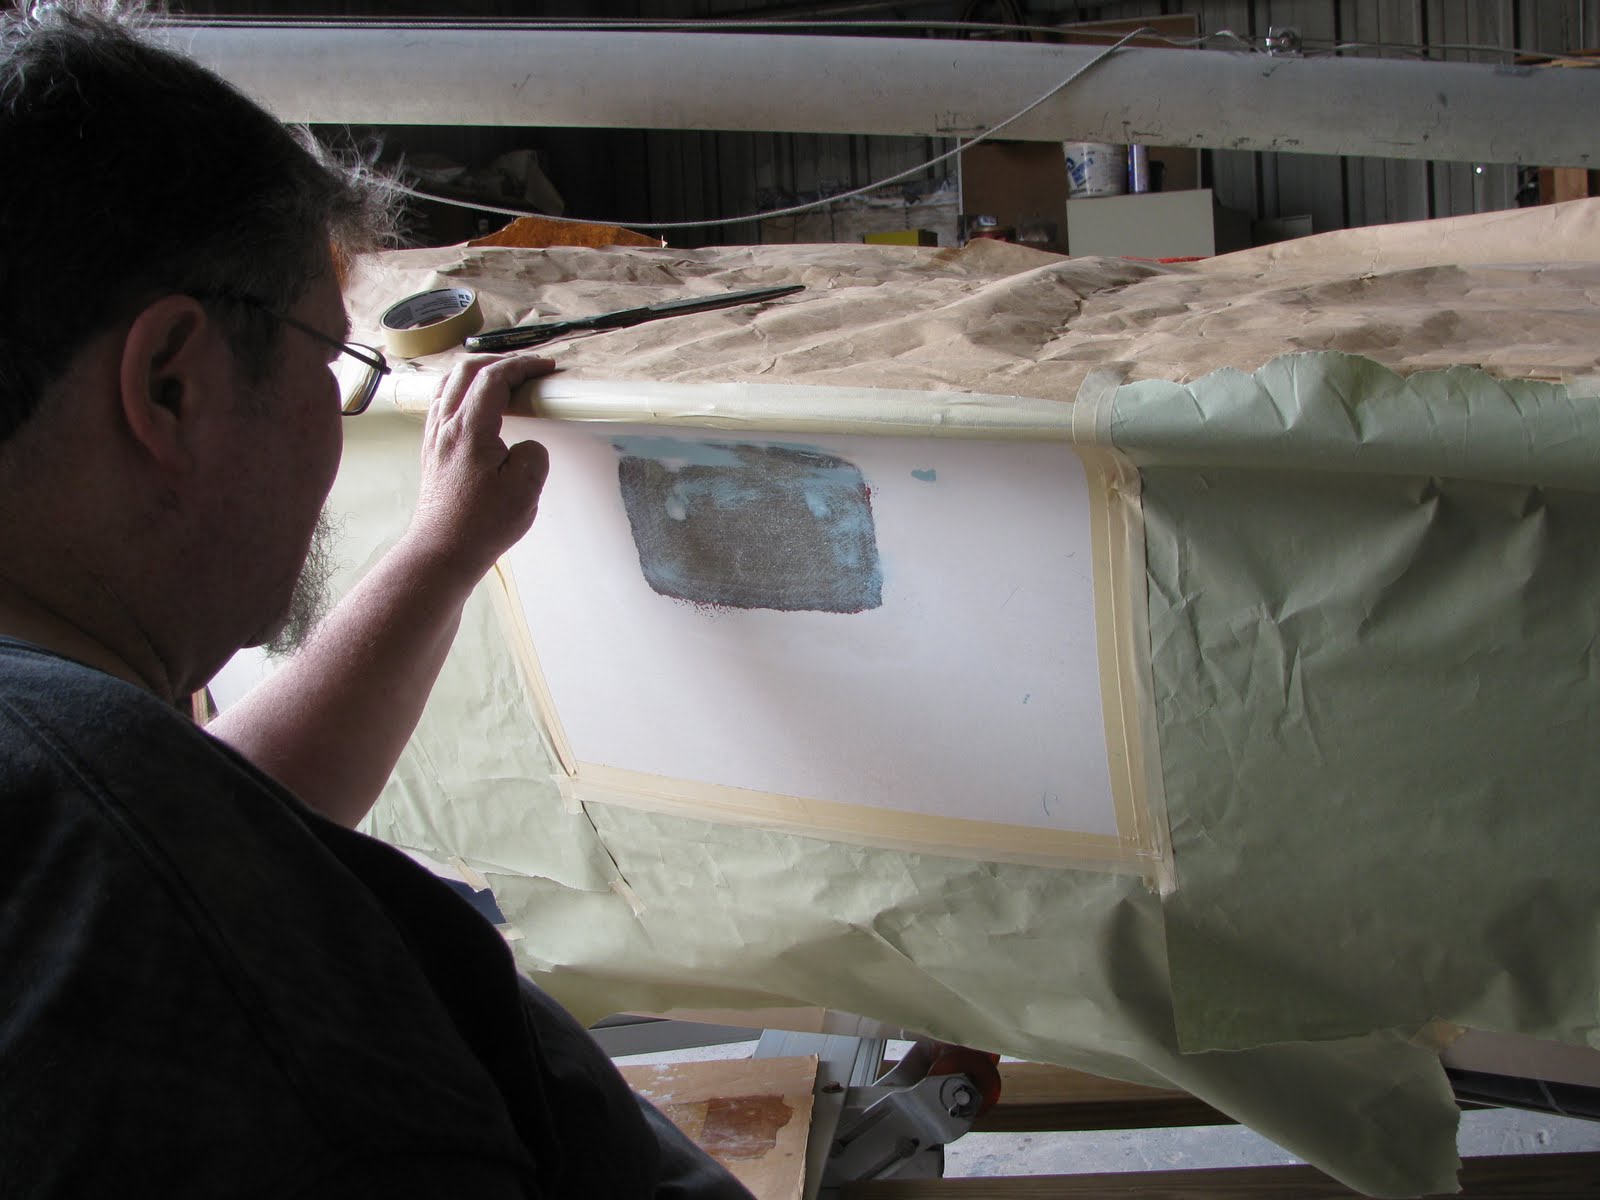
Sanded smooth and papered and ready to spray the gelcoat

Gelcoat being sprayed
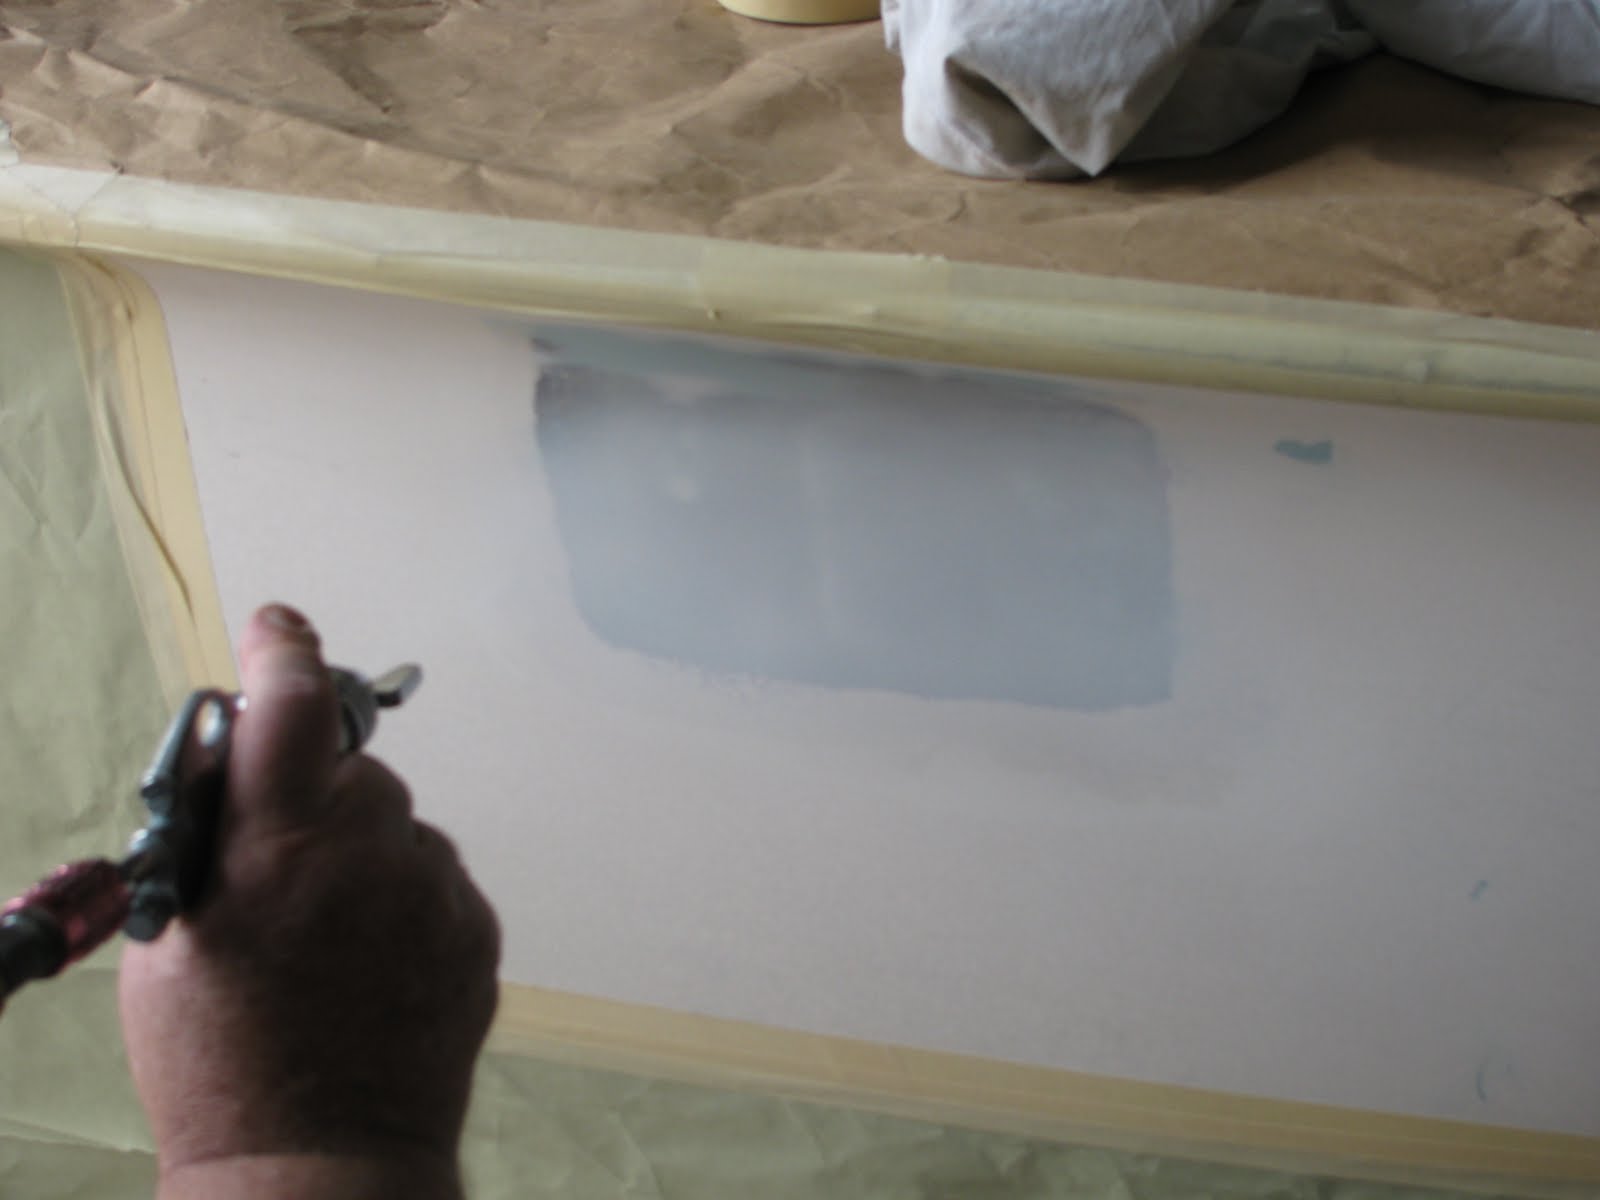
More spraying
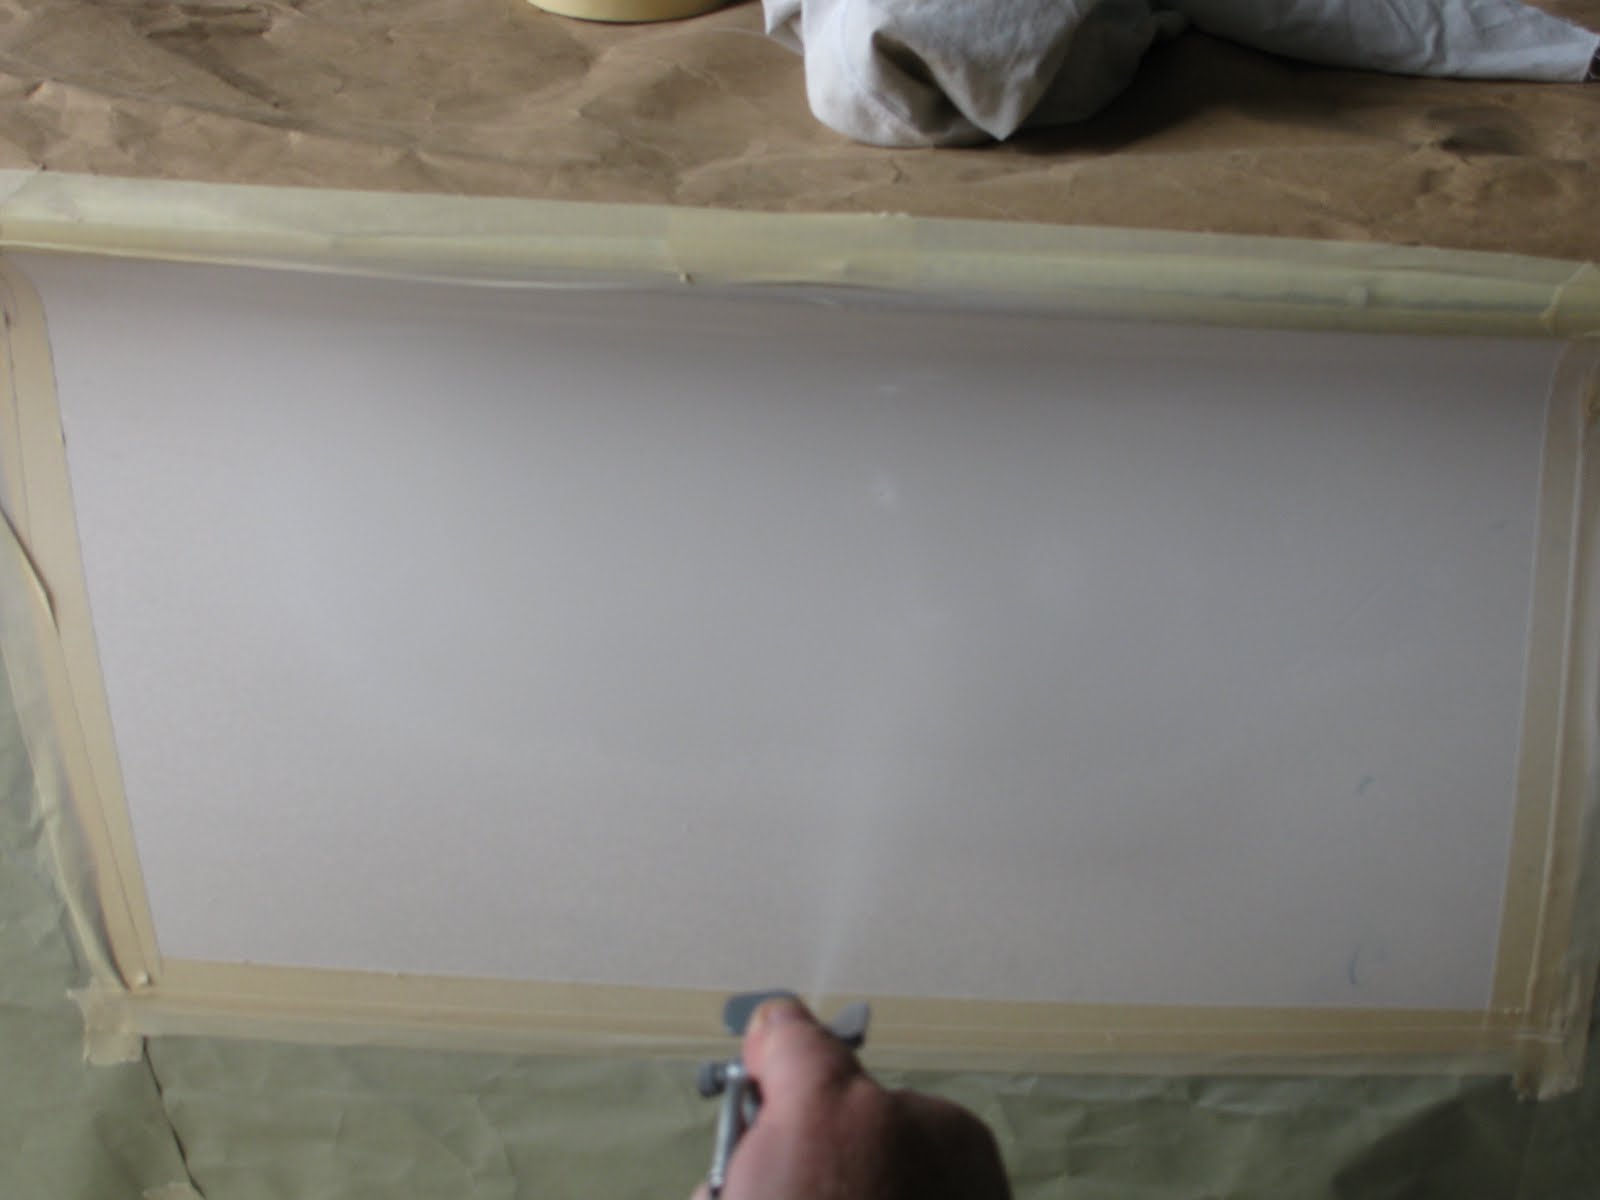
Almost done with gelcoat
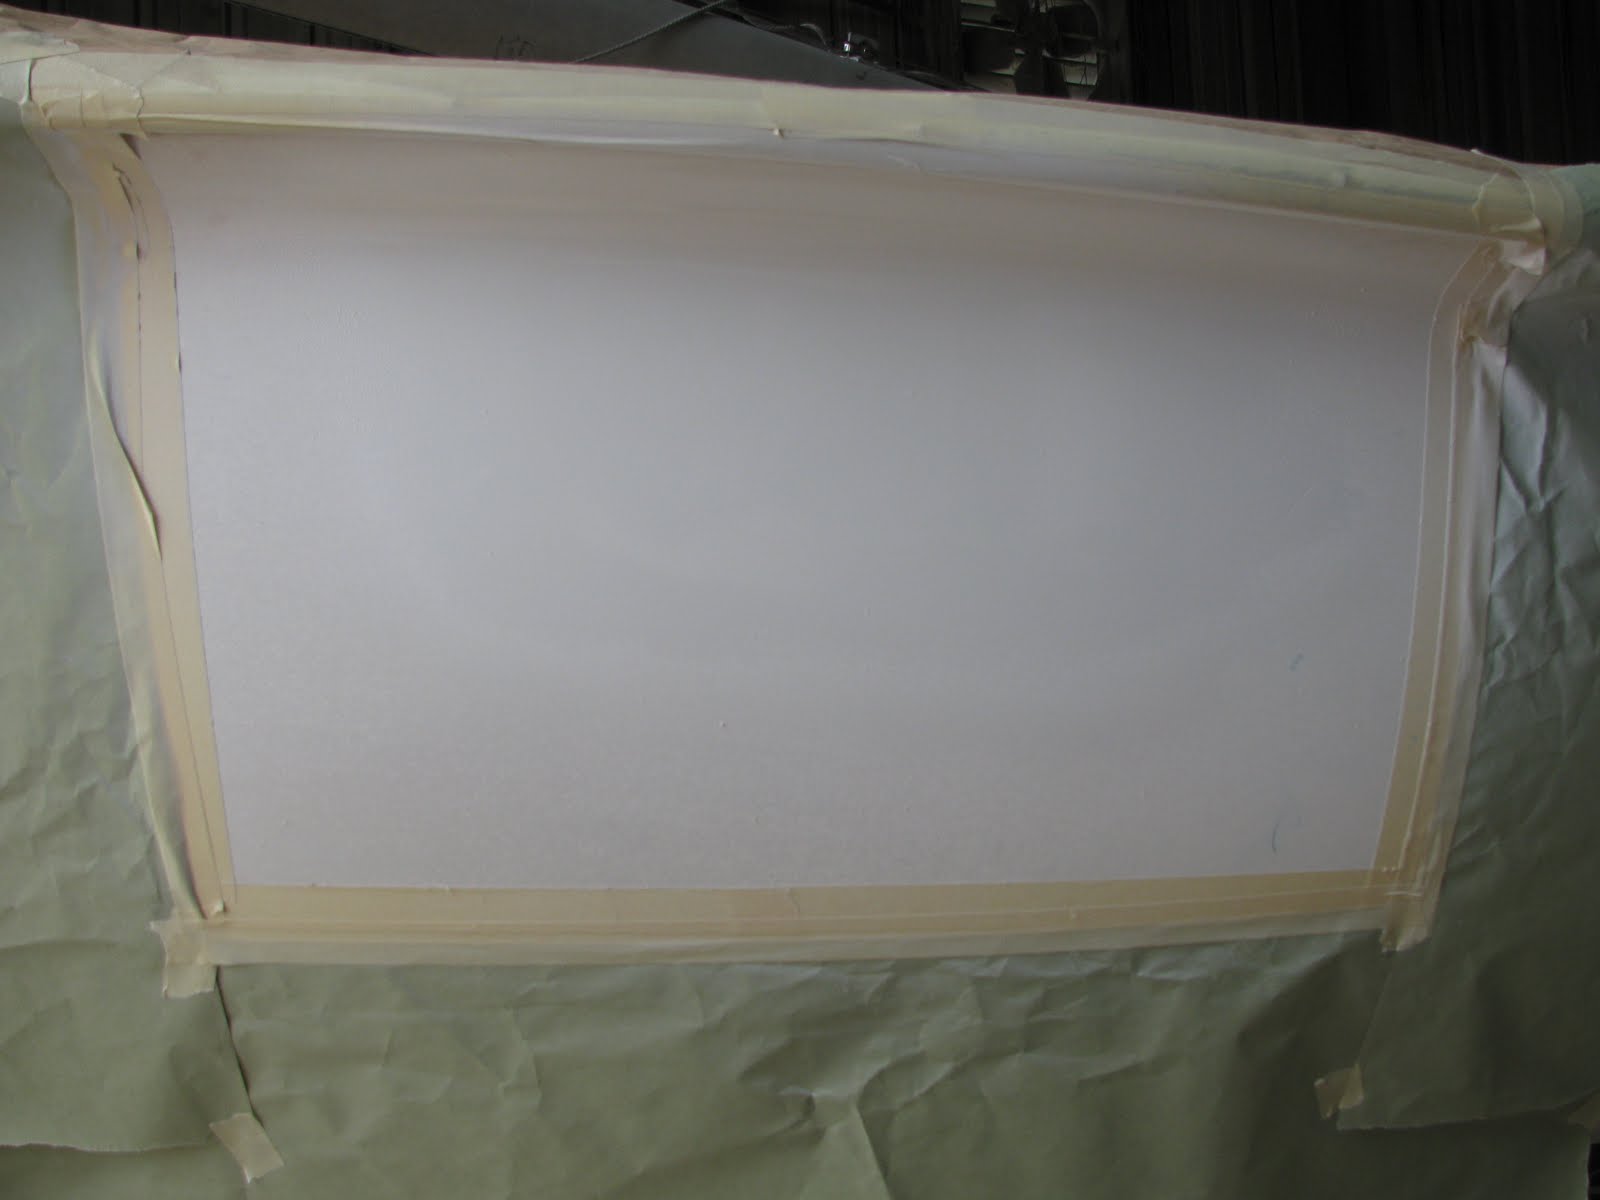
Here we have the gelcoat finished and curing, once cured the paper will come off
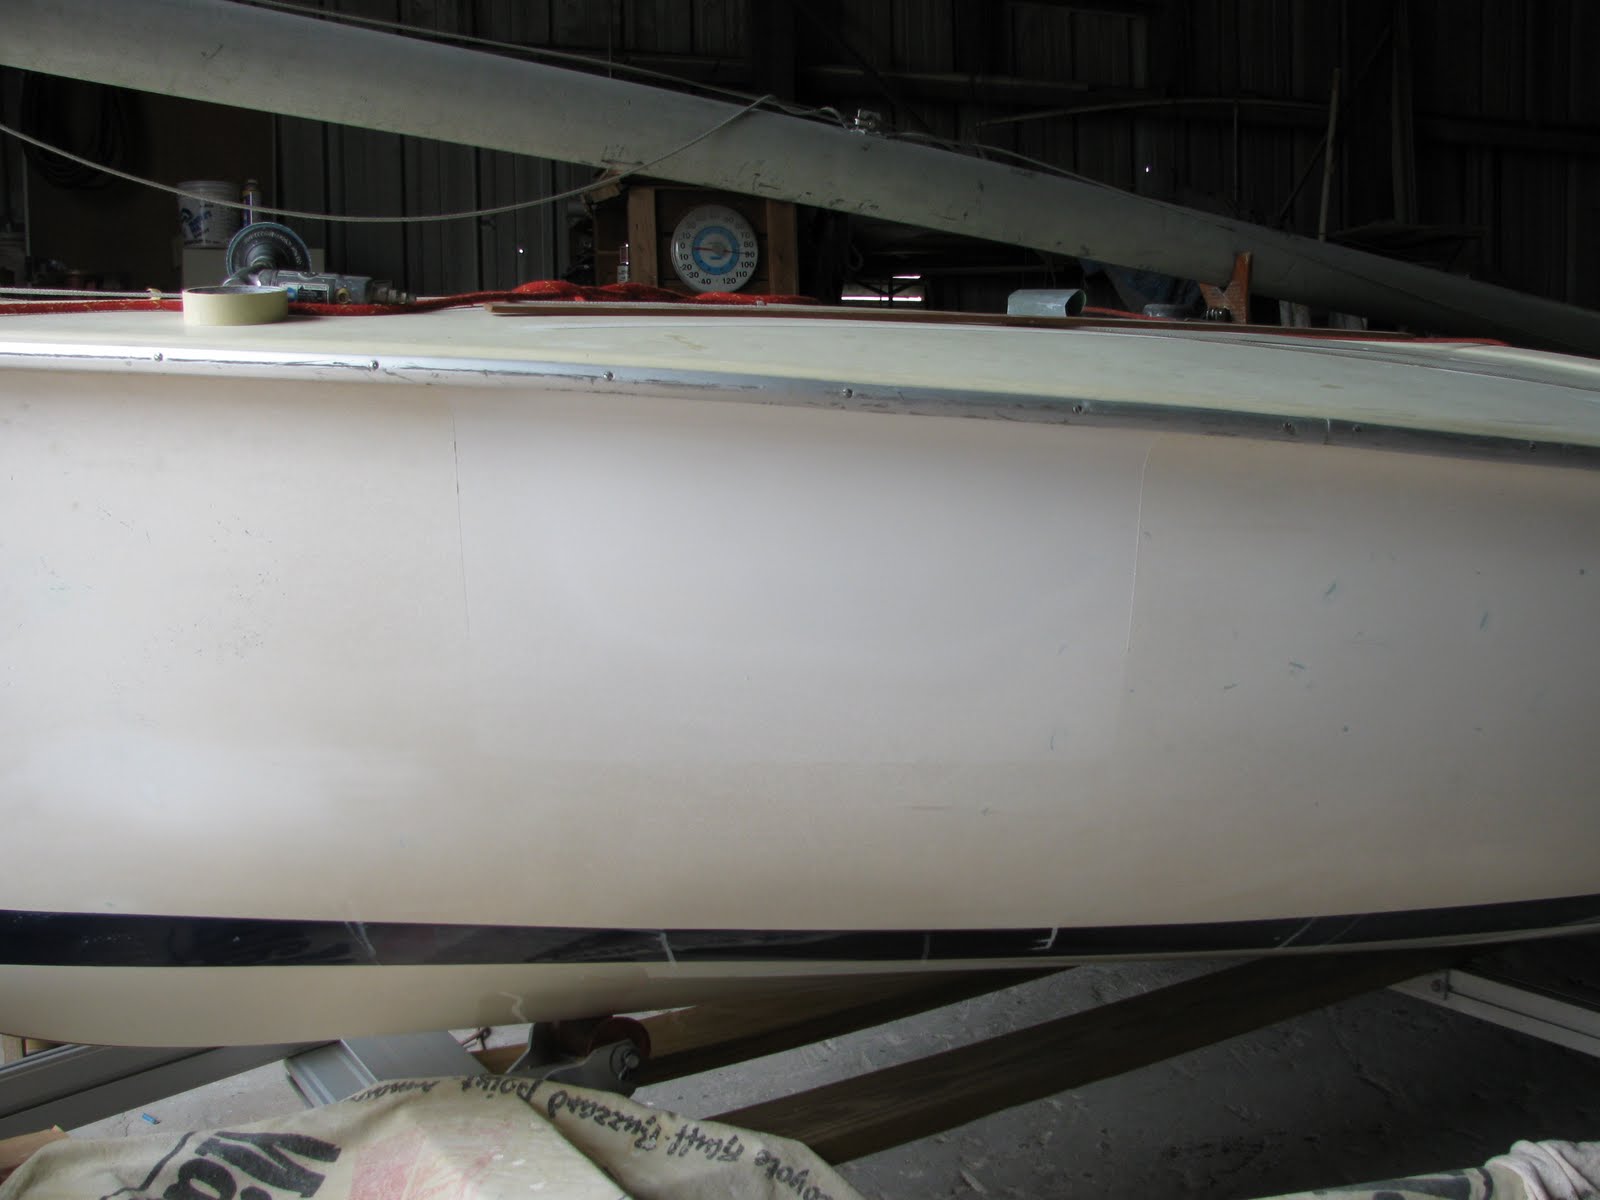
We sanded the area with 600 grit to knock down the overspray and finish the repair
We spent little time trying to match the gelcoat because it would have been impossible anyway. The existing gelcoat is old and has tiny crackes everywhere so matching the texture would be impossible. So we sanded it to 600 and called it good. At that point it only has a slight gloss which helps it blend. Ordinarily you would sand to 2000 then buff for a high gloss but that would have looked silly against the rest of the old boat. I figure a few outings at the club with some dock rash from the rubber bumpers strategically placed and you will never spot the repair.
2 comments:
i still think you should've painted a target on the spot!
I guess the hole proves a target wasn't necessary. Don't want any more!
Post a Comment