If you like reading about fiberglass repairs you might like this one; Centerboard Repair which is the first of a three part series.

Hear is the hole made by the stem fitting of another Flying Scot during the 2010 Great 48 at Lake Norman YC
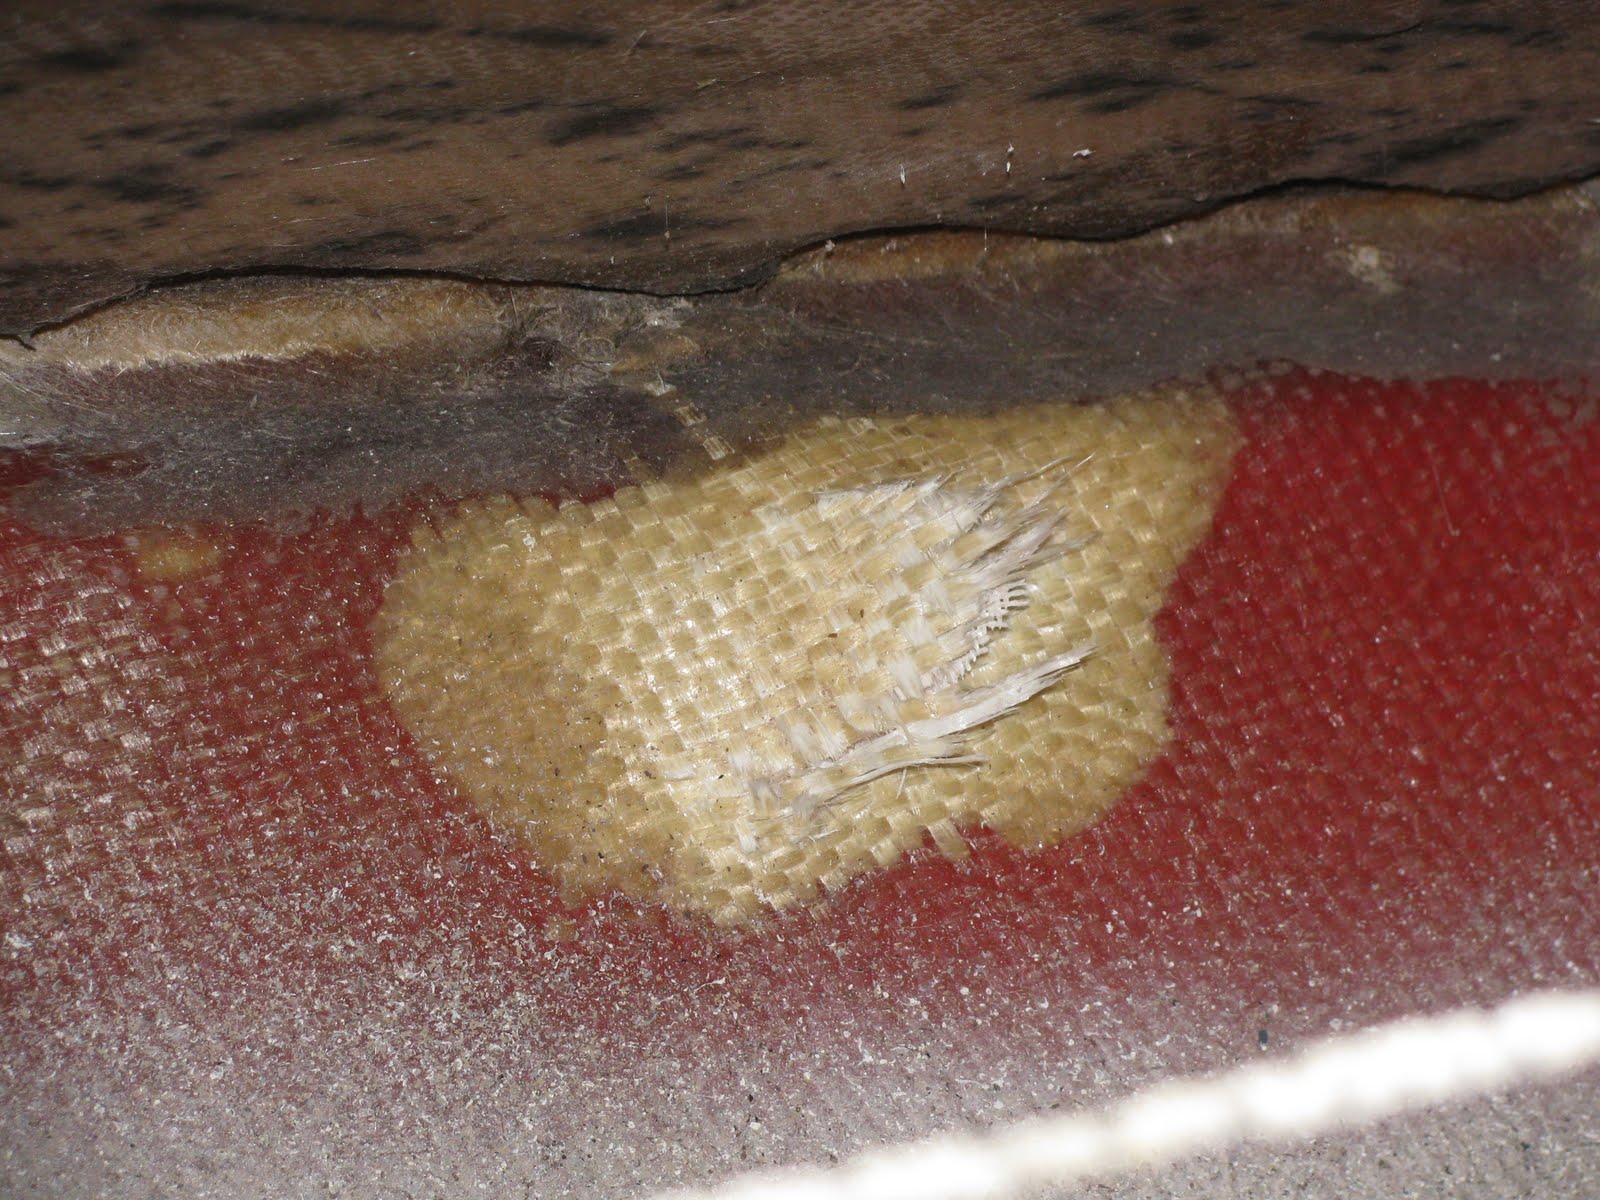
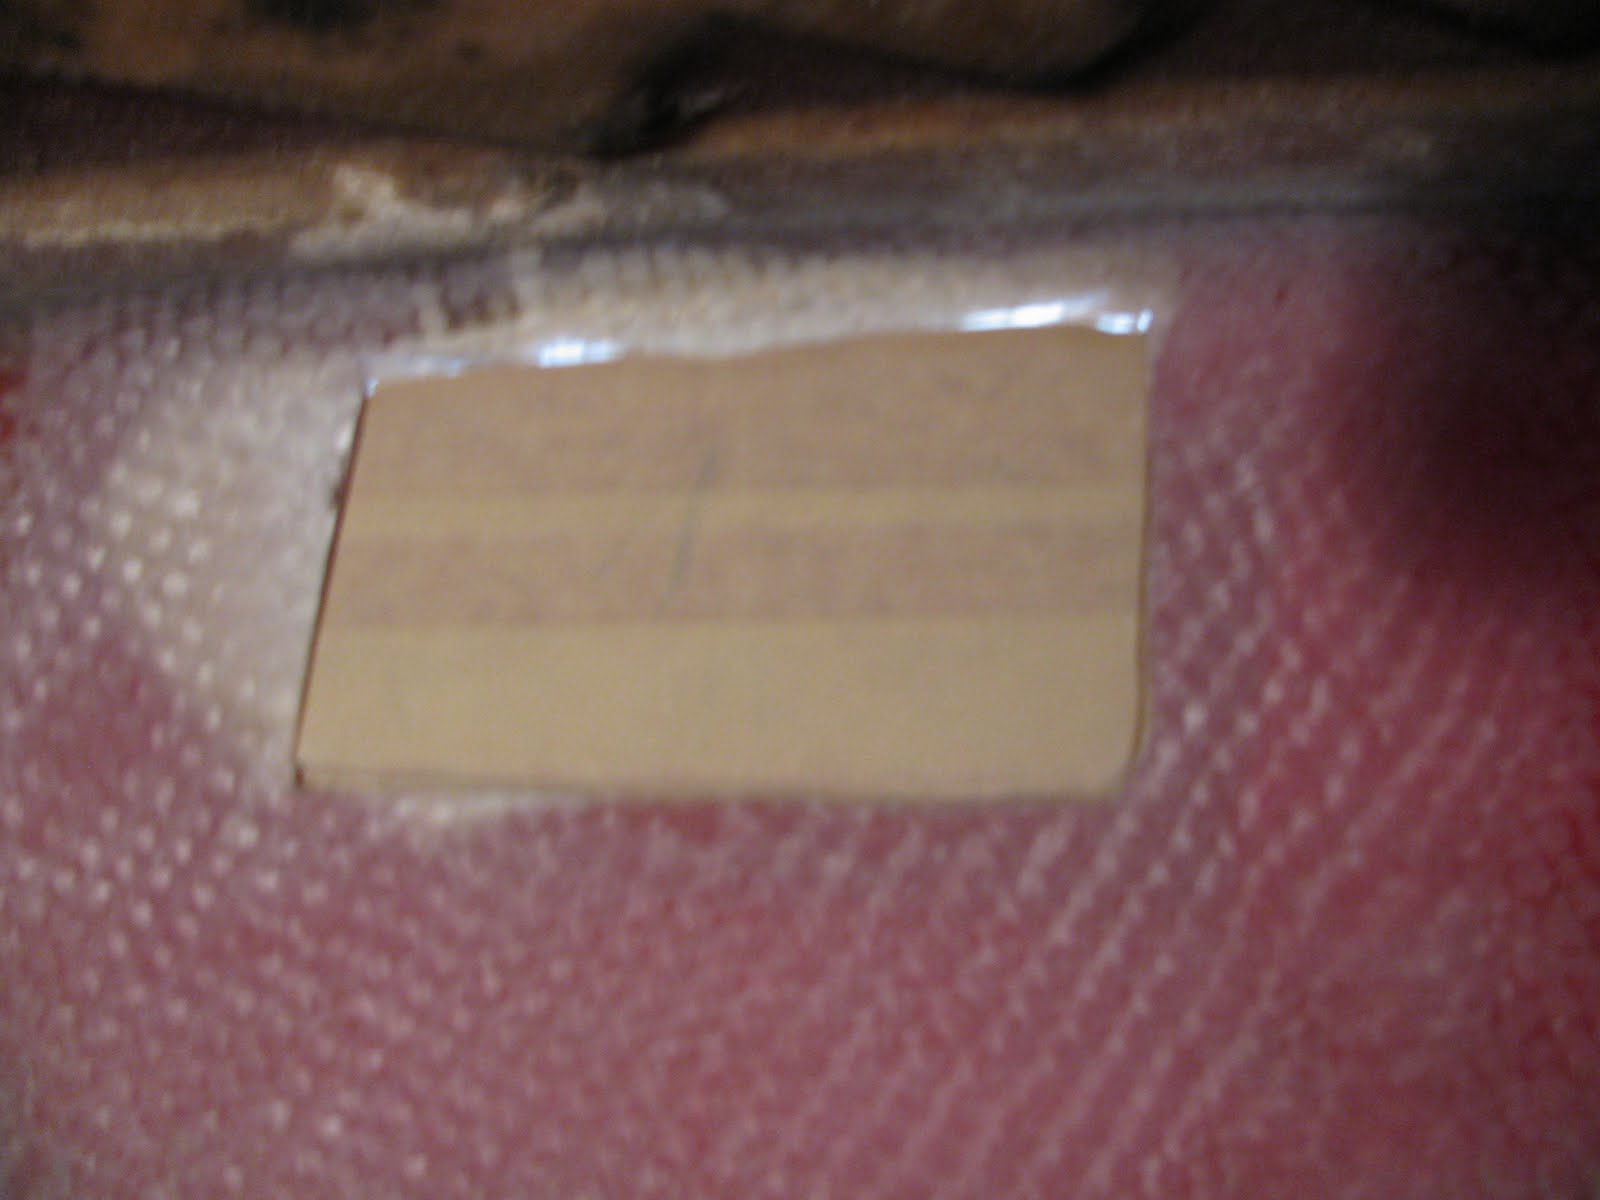
The hole from inside the cabin, light spots are delaminated glass, actually 24oz. roving. Early Scots were made with roving before they switched to a better fiberglass fabric

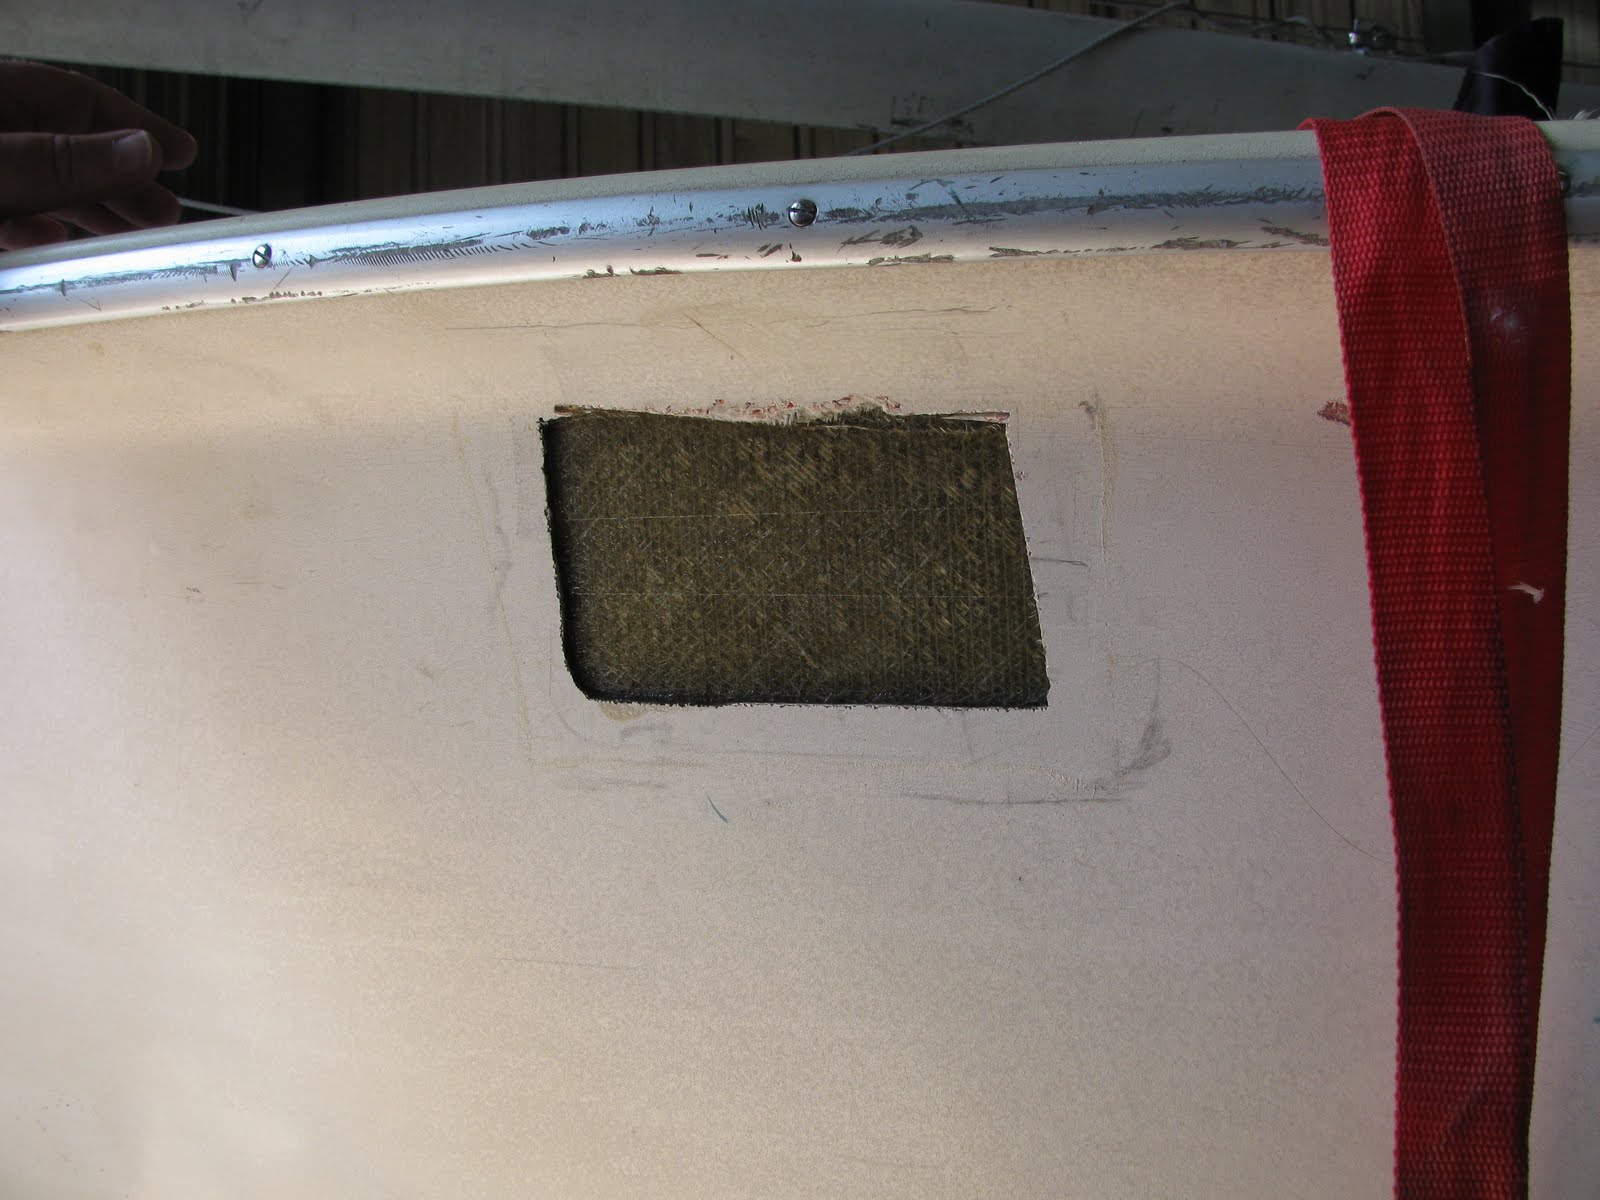
A jig saw was used to cut out the damaged area
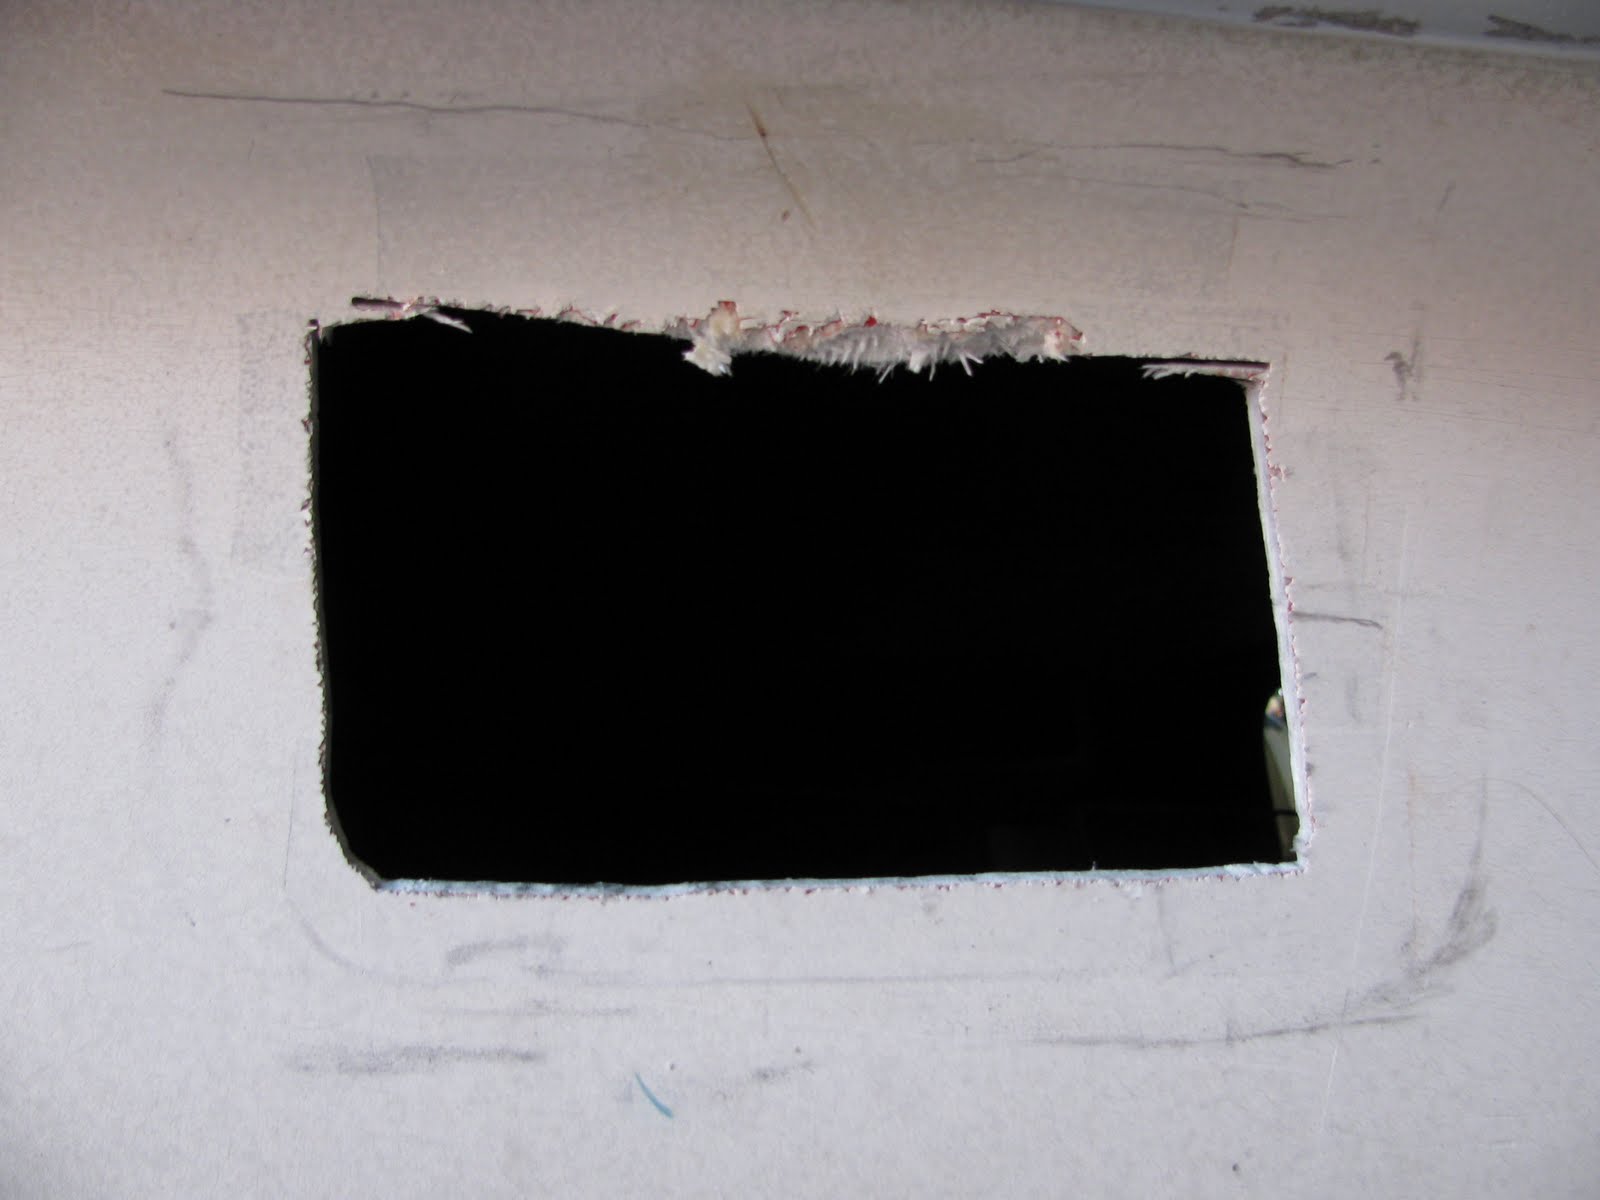
Damaged area cut away ended up about 4 x 6 inches
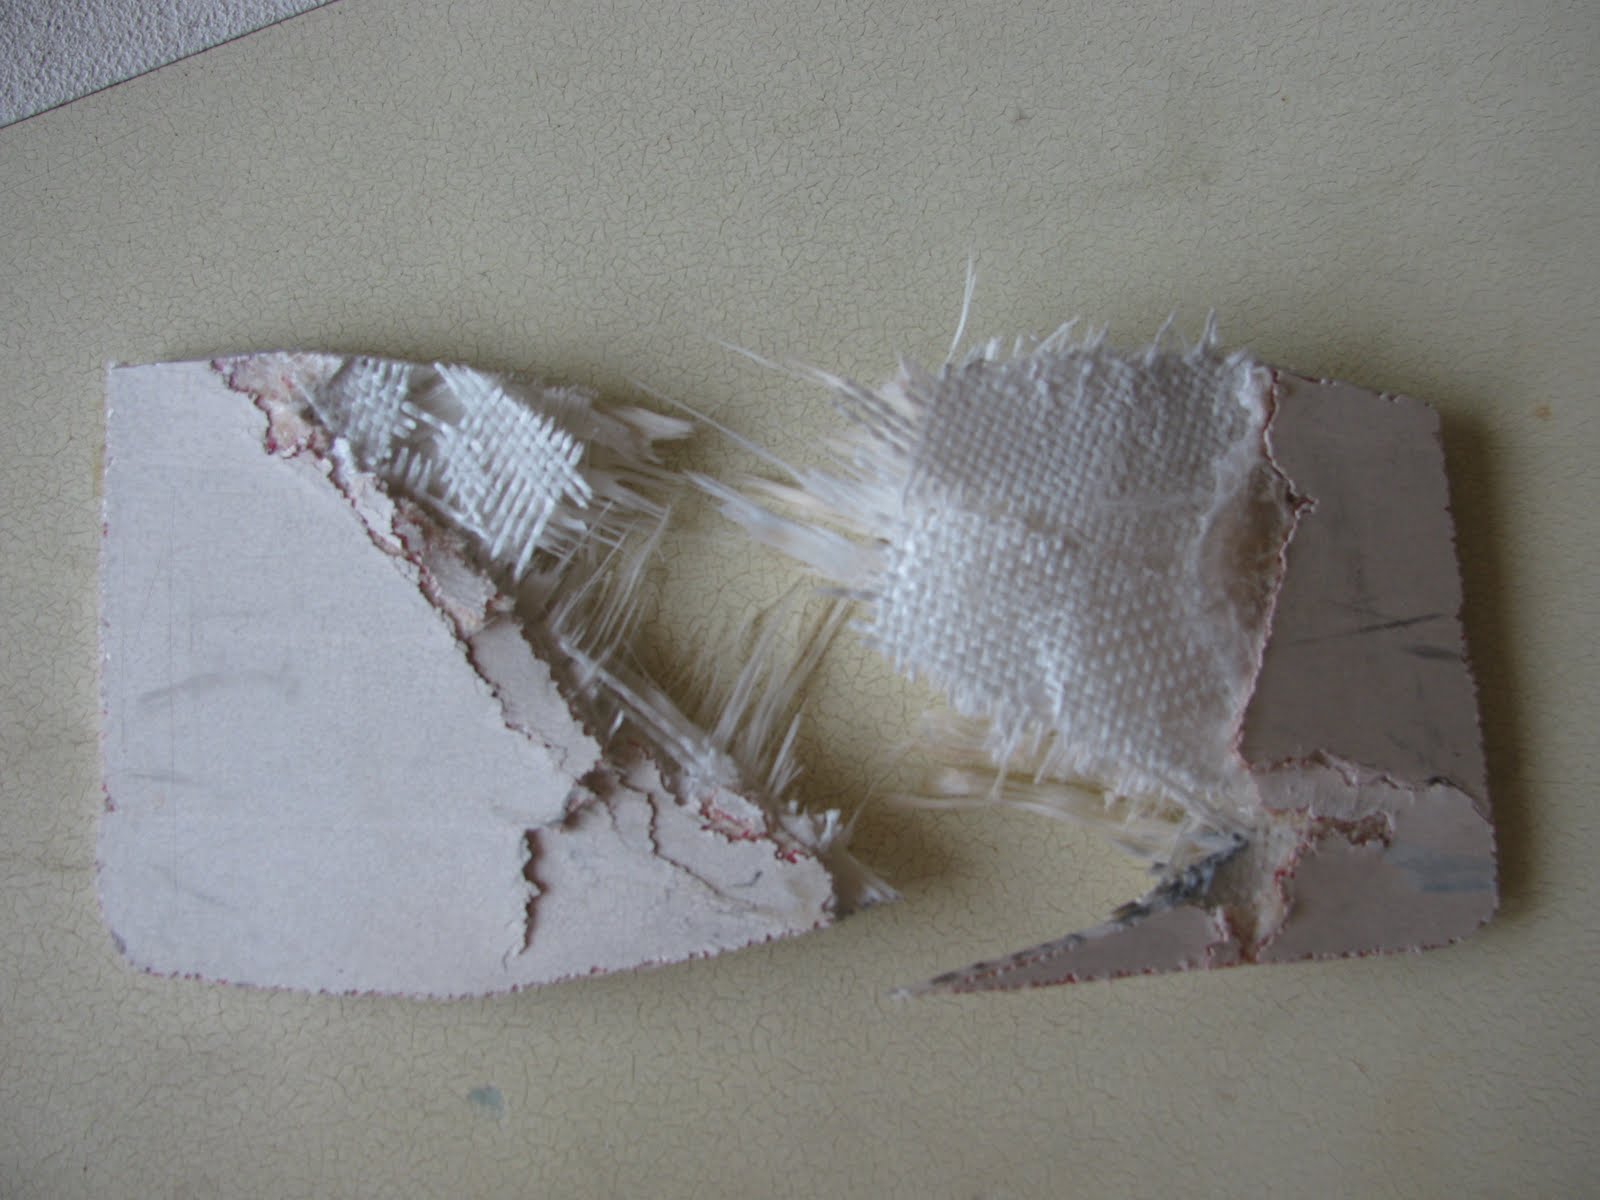
The two pieces which were cut out
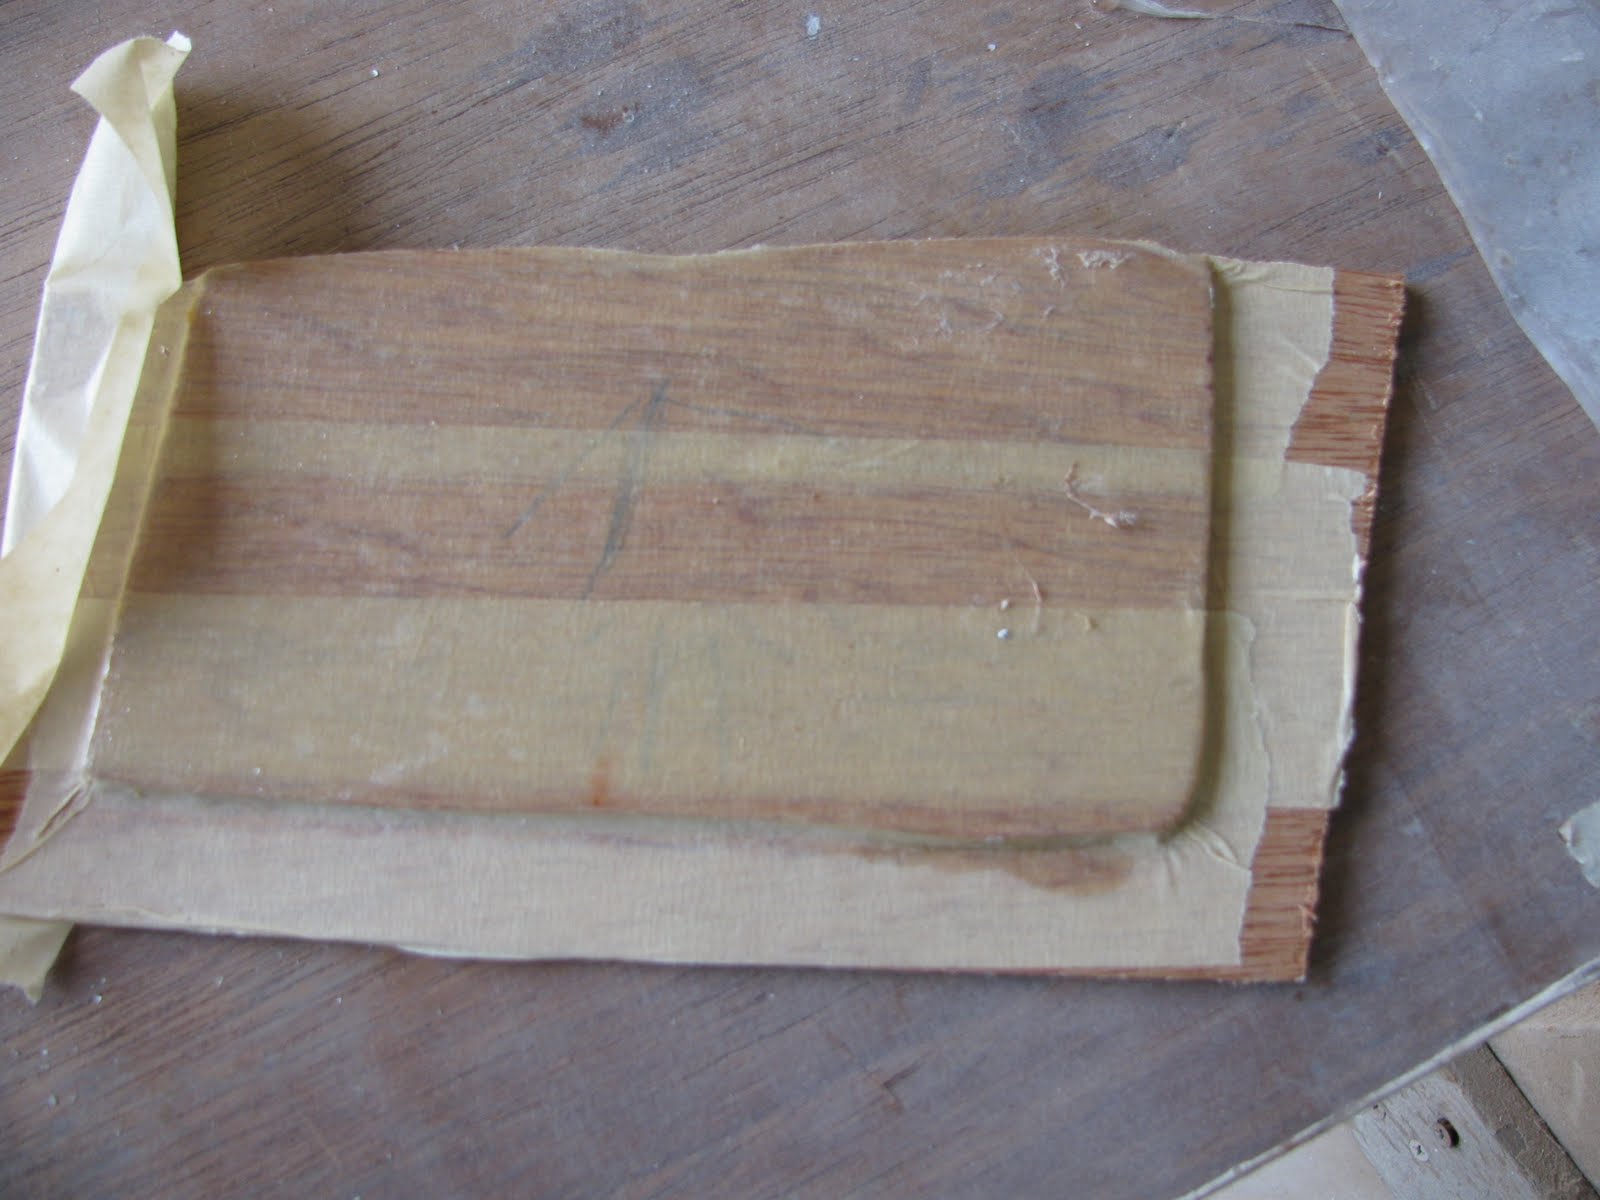
A temporary mold was made out of 2 layers of door skin. The smaller layer was traced (exact shape) from the cut out hole and the second layer was larger to overlap the bottom and both sides. We could not overlap the top due to the outward flare of the hull. It was covered with masking tape then waxed so the resin would not stick to it
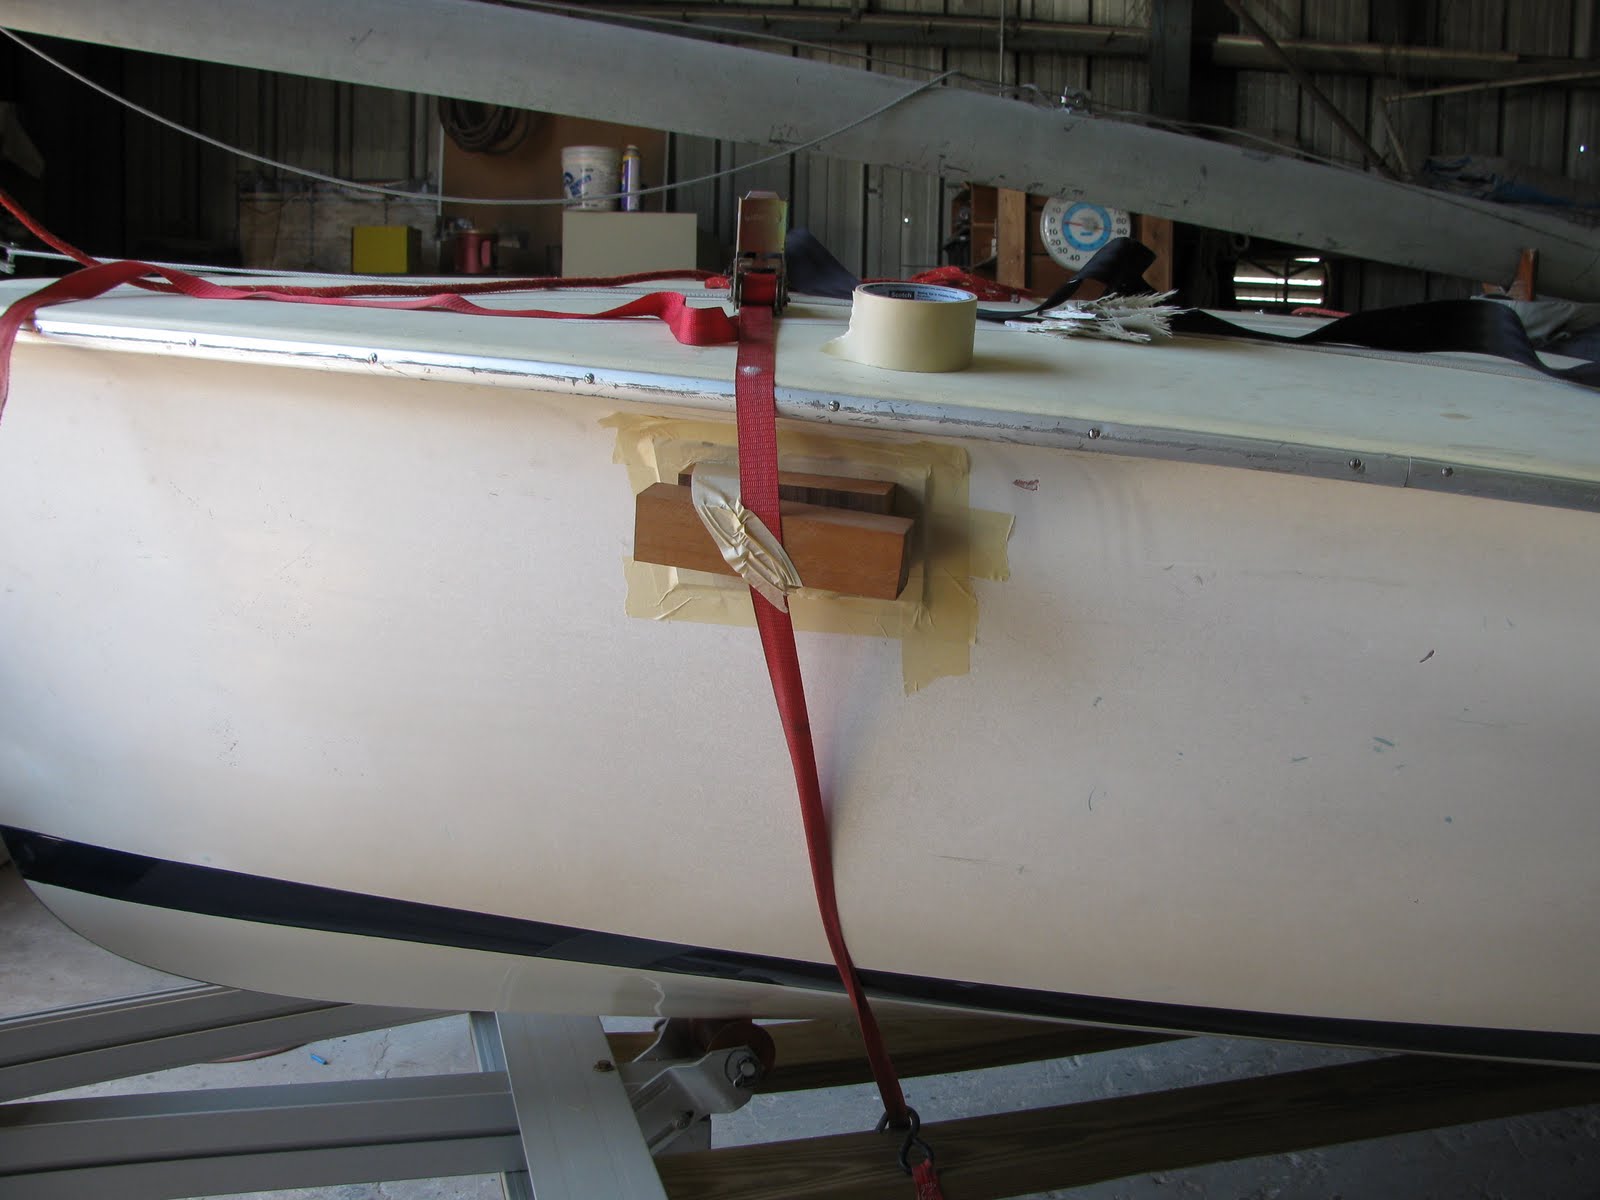
The mold is held in place with a strap and masking tape so we can apply glass to the inside. To help the mold conform to the curve of the hull, it was scored vertically with a knife, not shown
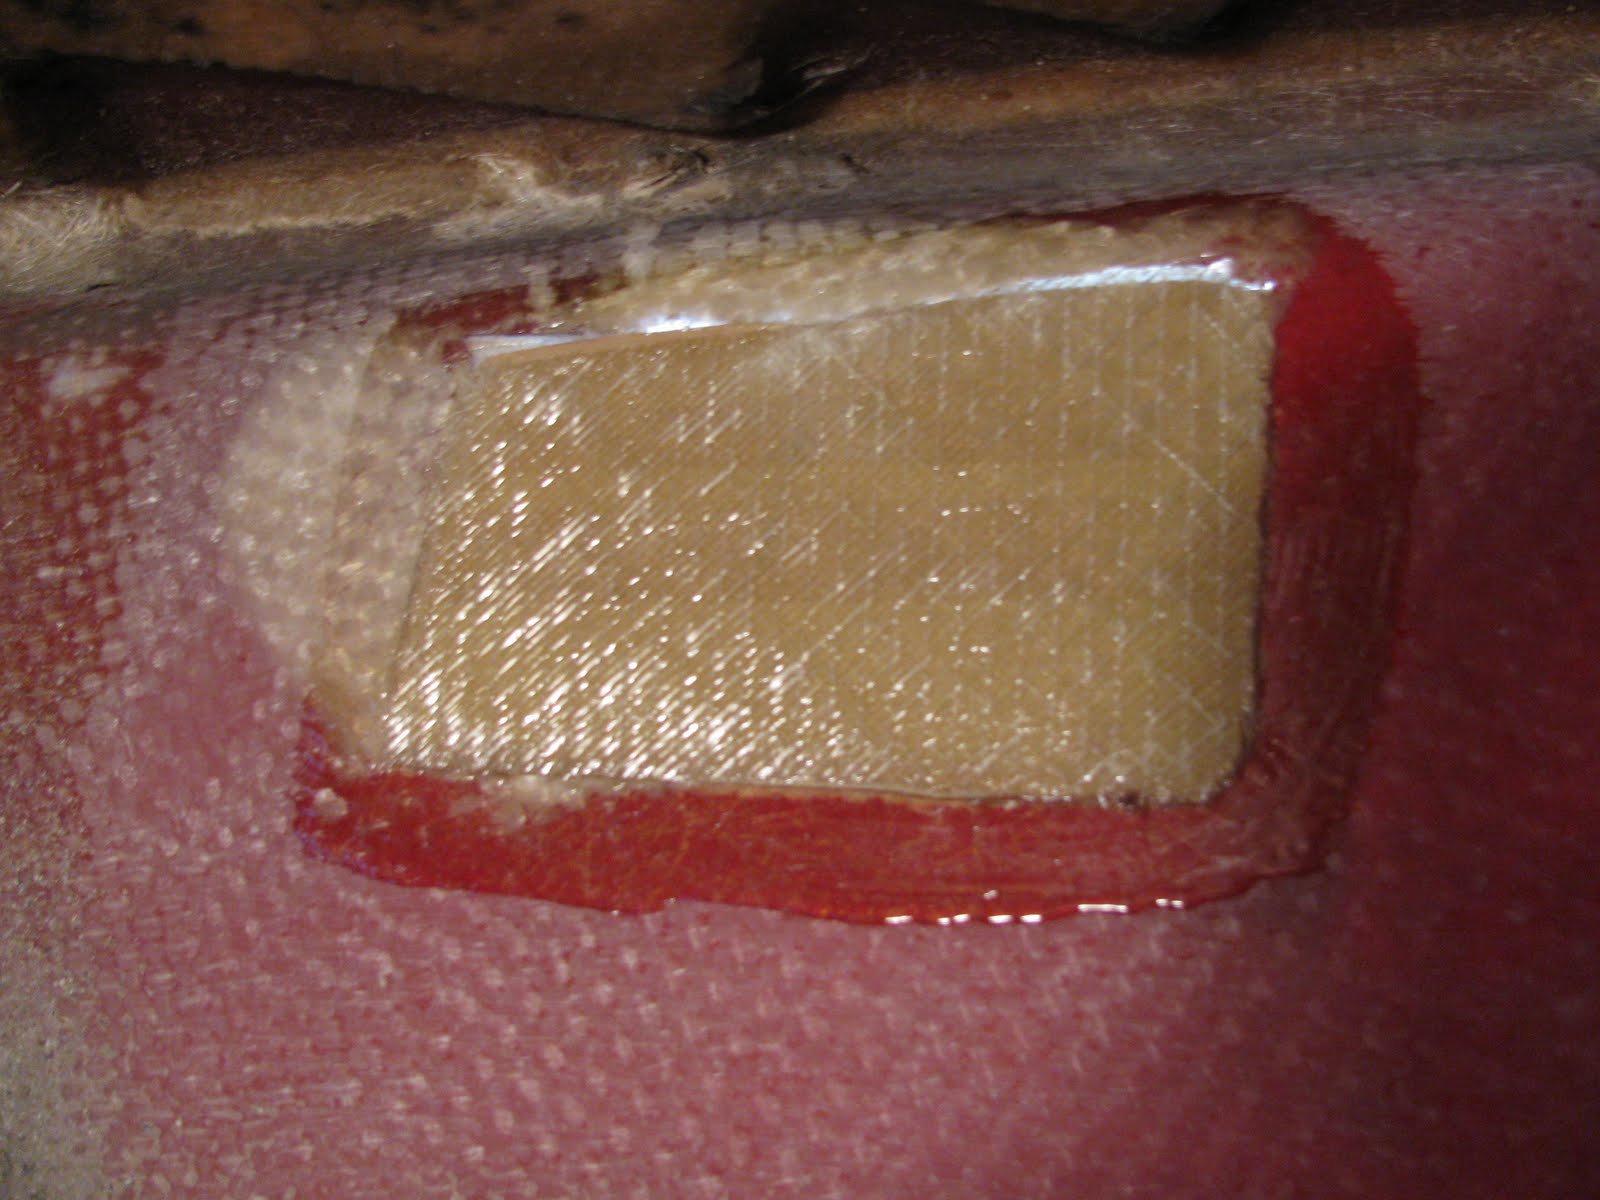
The mold from inside the cabin and after the surrounding area was thoroughly sanded with 40 grit. It is a little hard to see the sanded area but the idea is to get through all of the surface texture of the 24 oz roving.
The first layer of 17 oz fiberglass was the exact size of the hole

The next layer of fiberglass was larger to overlap the cut out by about 2 inches all around. Note; the cloth being used has a layer of mat sewn onto one side. Mat is needed to get a proper bond so when using a cloth without the mat you would need to lay in a layer of mat separately

Fiberglass mat was then applied so the end result with be more smooth and finished, this step is optional but what the heck
After the resin cured we removed the mold leaving the fiberglass covering the hole from the inside
This wraps up the work from the inside, I won't be painting it since it is out of sight, for the most part. You can see the rest of the job Hole Repair Part 2
4 comments:
Thanks for posting the repair process. Hope I'll never need it!
No problem Chris, it is best not to need to use this info. On the other hand if it does happen a knowledgable person can repair it quite easily.
why not just use duct tape?
Even duct tape has it's limitations.
Post a Comment