The first thing I did was get the foam which I found from a local guy who sells packing materials. I would have bought it from Harry but the shipping to Florida would have been pricey, probably as much or more $ than the foam. The first step was to sand the areas on the hull and seat where the fiberglass strips would go, 40 grit on the orbital sander makes quick ( but itchy) work of it.
The next step is to cut some pieces of fiberglass cloth to the same width as the foam blocks, about 11 inches. Then lay them out flat and wet them out with epoxy and let cure.

The reason for this step is you will be working upside down. When the floatation is added at the factory the boat is upside down, so the glass just lays on the underside of the foam and seat, so gravity is helping. With the boat right side up, gravity is working against you, it will be much easier to have these pieces made up and rigid.
Now you fit the foam blocks and prop them in place, then add the 11 inch glass strips you already made up.

I used small tree branches to hold them up and paint stirrers to keep from poking holes in the foam. The branches were convenient to easily cut to size with pruners. Wedge the branches to the hull where the balsa core lip is and they will stay put. You can also see (in the pic above) the cured glass strips are in place and held with masking tape. Now you can get ready to glass them in.
Get some wax paper from your kitchen, ask the wife where it is, she has it. Cut the wax paper to a size just larger than the strips of cloth. One piece for every strip, as shown below. This is a huge help to keep things neat and the cursing to a minimum.

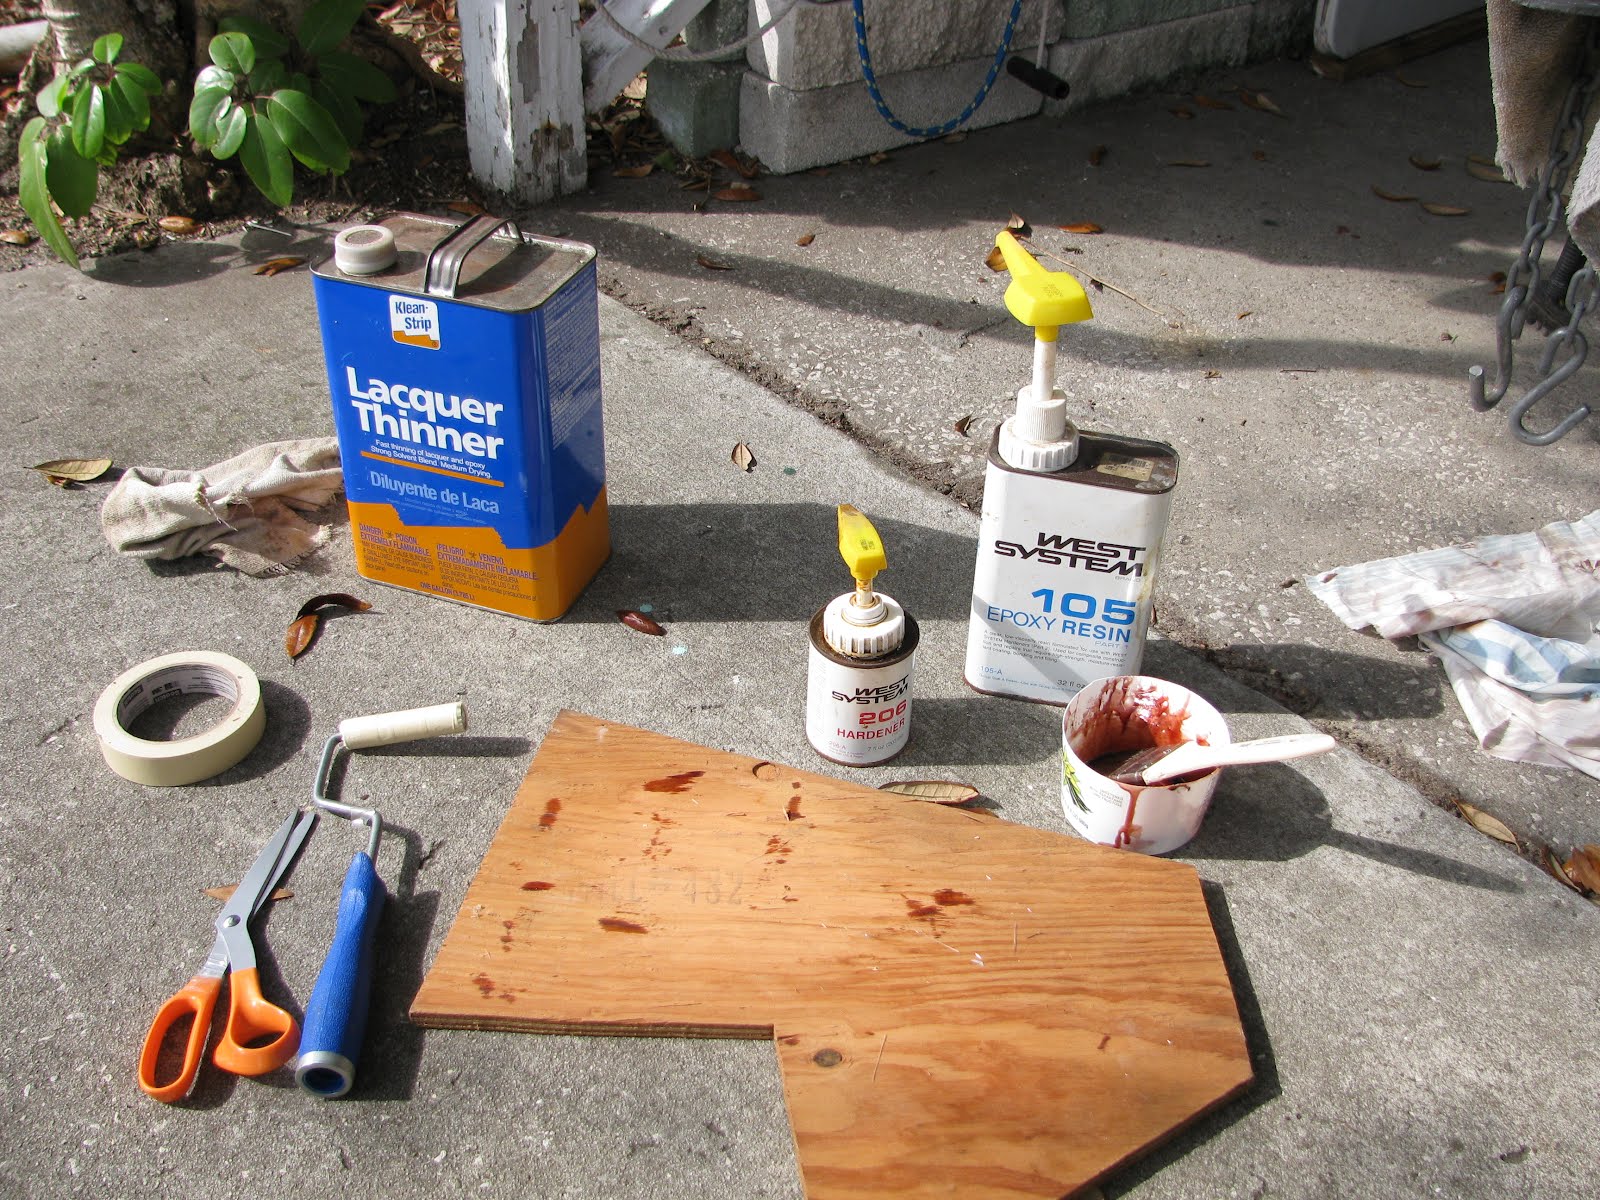
Now you can wet a strip working right side up being somewhat careful not to be sloppy and go off the edges of the wax paper. I was using West System epoxy, and the can of hardener I had was old, which makes it turn brown. It still works fine but it is not clear like it is when new, no worries.

Pick up the wetted out cloth using the wax paper and put it in place bridging the cured strips and hull or seat whichever one you start with. You should be able to do this step w/o getting epoxy on your hands if you are somewhat careful. It is easy to press it in place a little by hand then use some masking tape to hold it in place.

Between the wax paper and several strips of tape there is no mess and it is easy to apply some pressure to get a good bond. I used a roller to work out any air pockets and apply uniform pressure but it could be done by hand as well.


The next day I removed the sticks and masking tape and took this last picture. Since the hardener I used in the epoxy was dark brown it may be nice to paint over the areas on the hull to make it blend in a little bit. These areas are not easily seen though, so I will leave as is, plus it's custom!

No comments:
Post a Comment