It’s been a little while since my last post. That means there has not been enough sailing happening, at least for me. Kim on the other hand, has had a few outings on the Sunfish and is really having fun and is doing well in her first season on that boat. We haven’t named it so maybe for the time being it will be referred to as “that boat”. I personally think calling that thing a boat is being quite generous but she is having fun, so we’ll go with it.
A few people have been inquiring about PIG PEN so I thought it might be good to do a progress report on the repairs. To recap a little, we last raced Labor Day weekend and were involved in a collision (I did my 720) where we were basically T-boned on the port side about where the skipper normally sits. The breeze was about 15-ish and the other boat was at about full speed (beating to weather) so it was a pretty solid impact. That sound of crunching fiberglass….. I hate it when that happens.
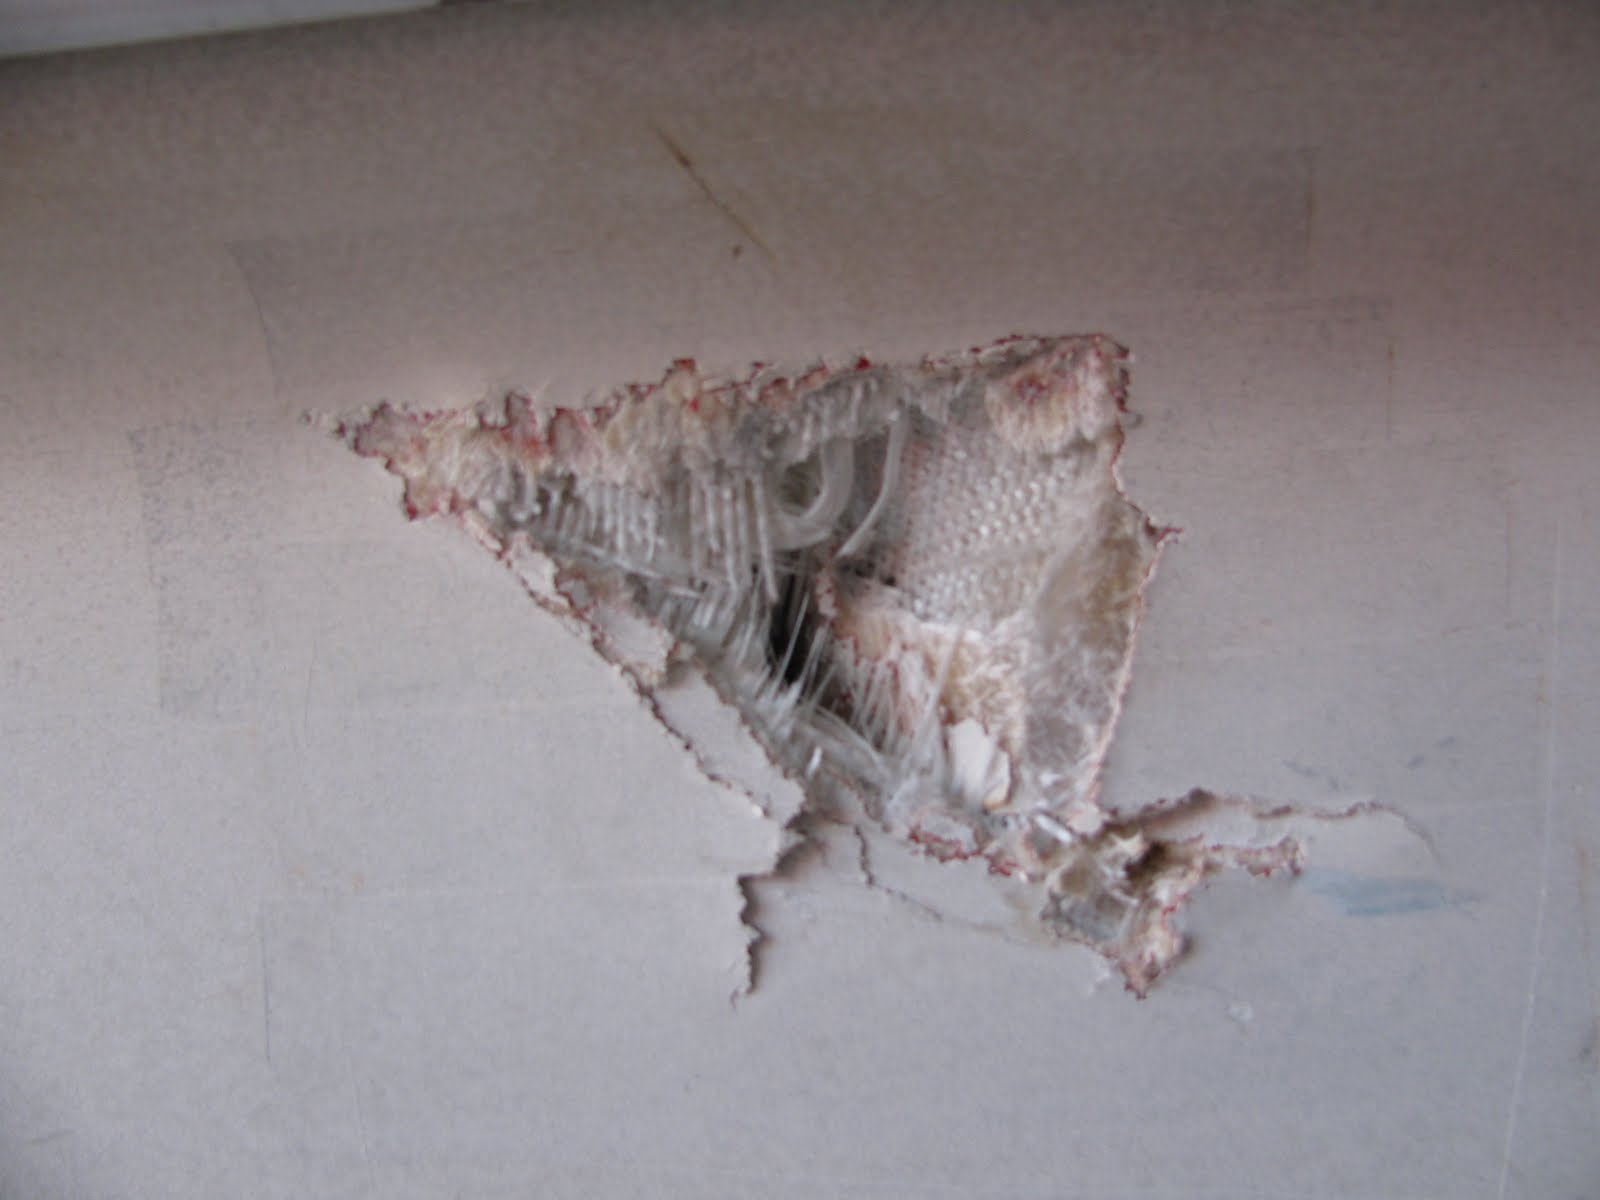
 Port rail damage about where the skipper sits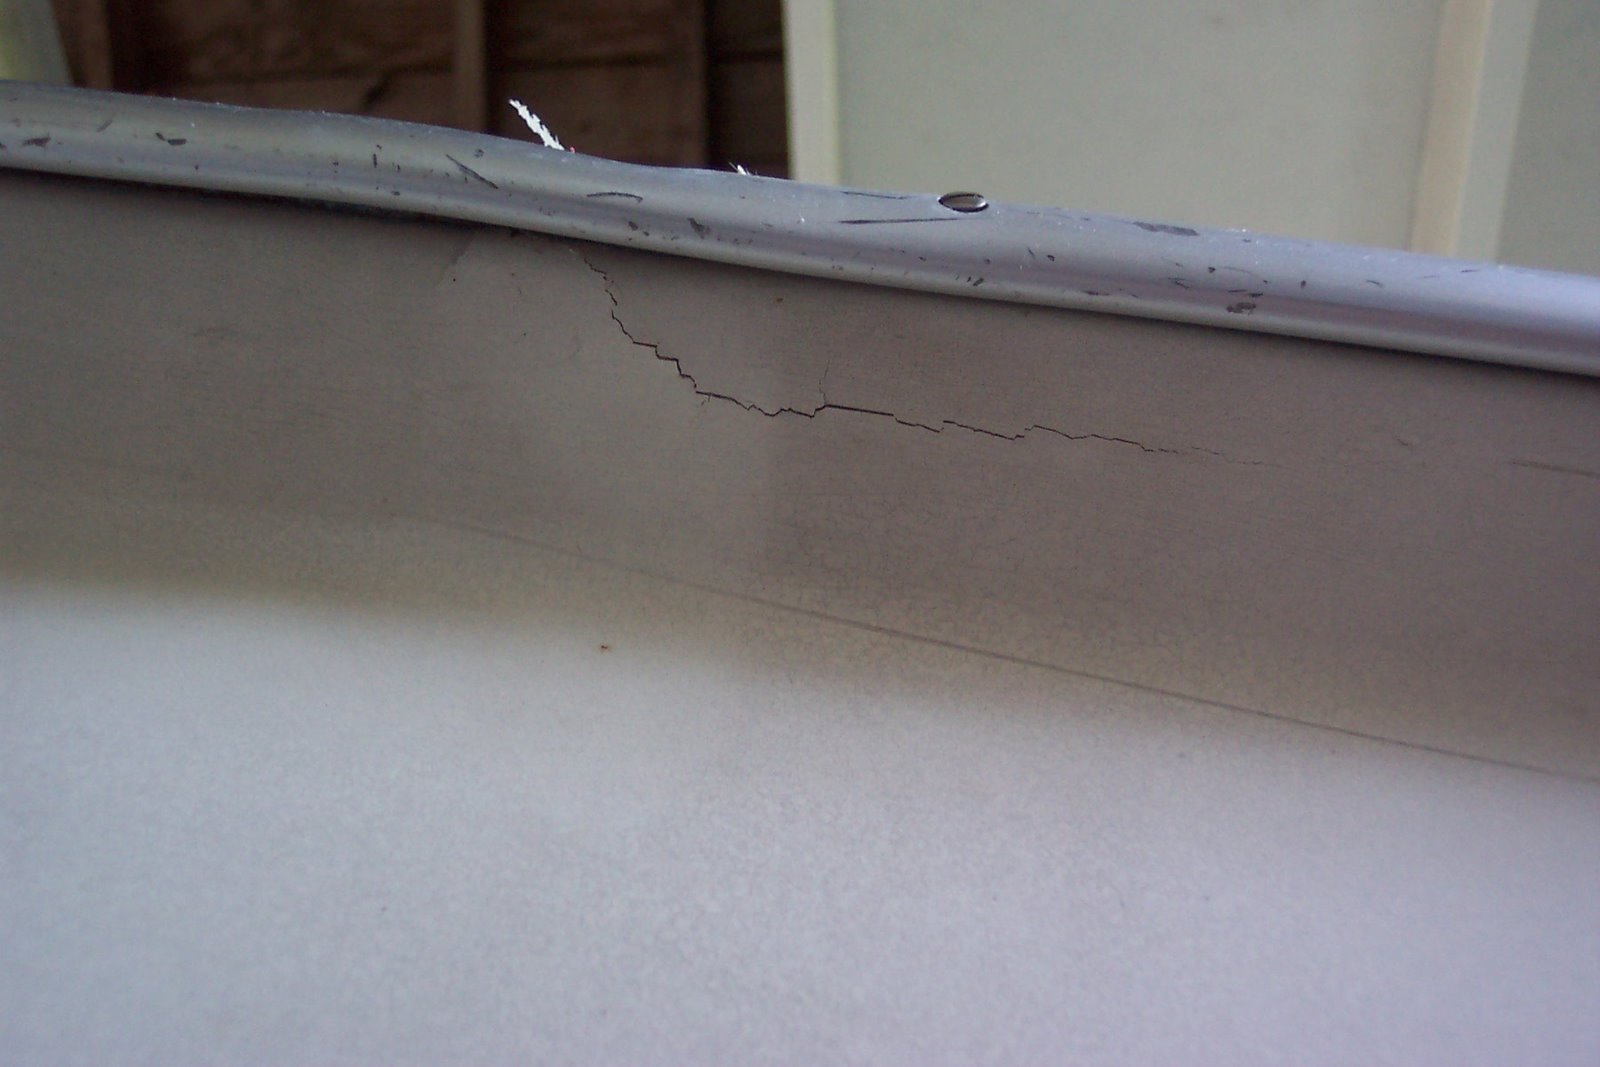
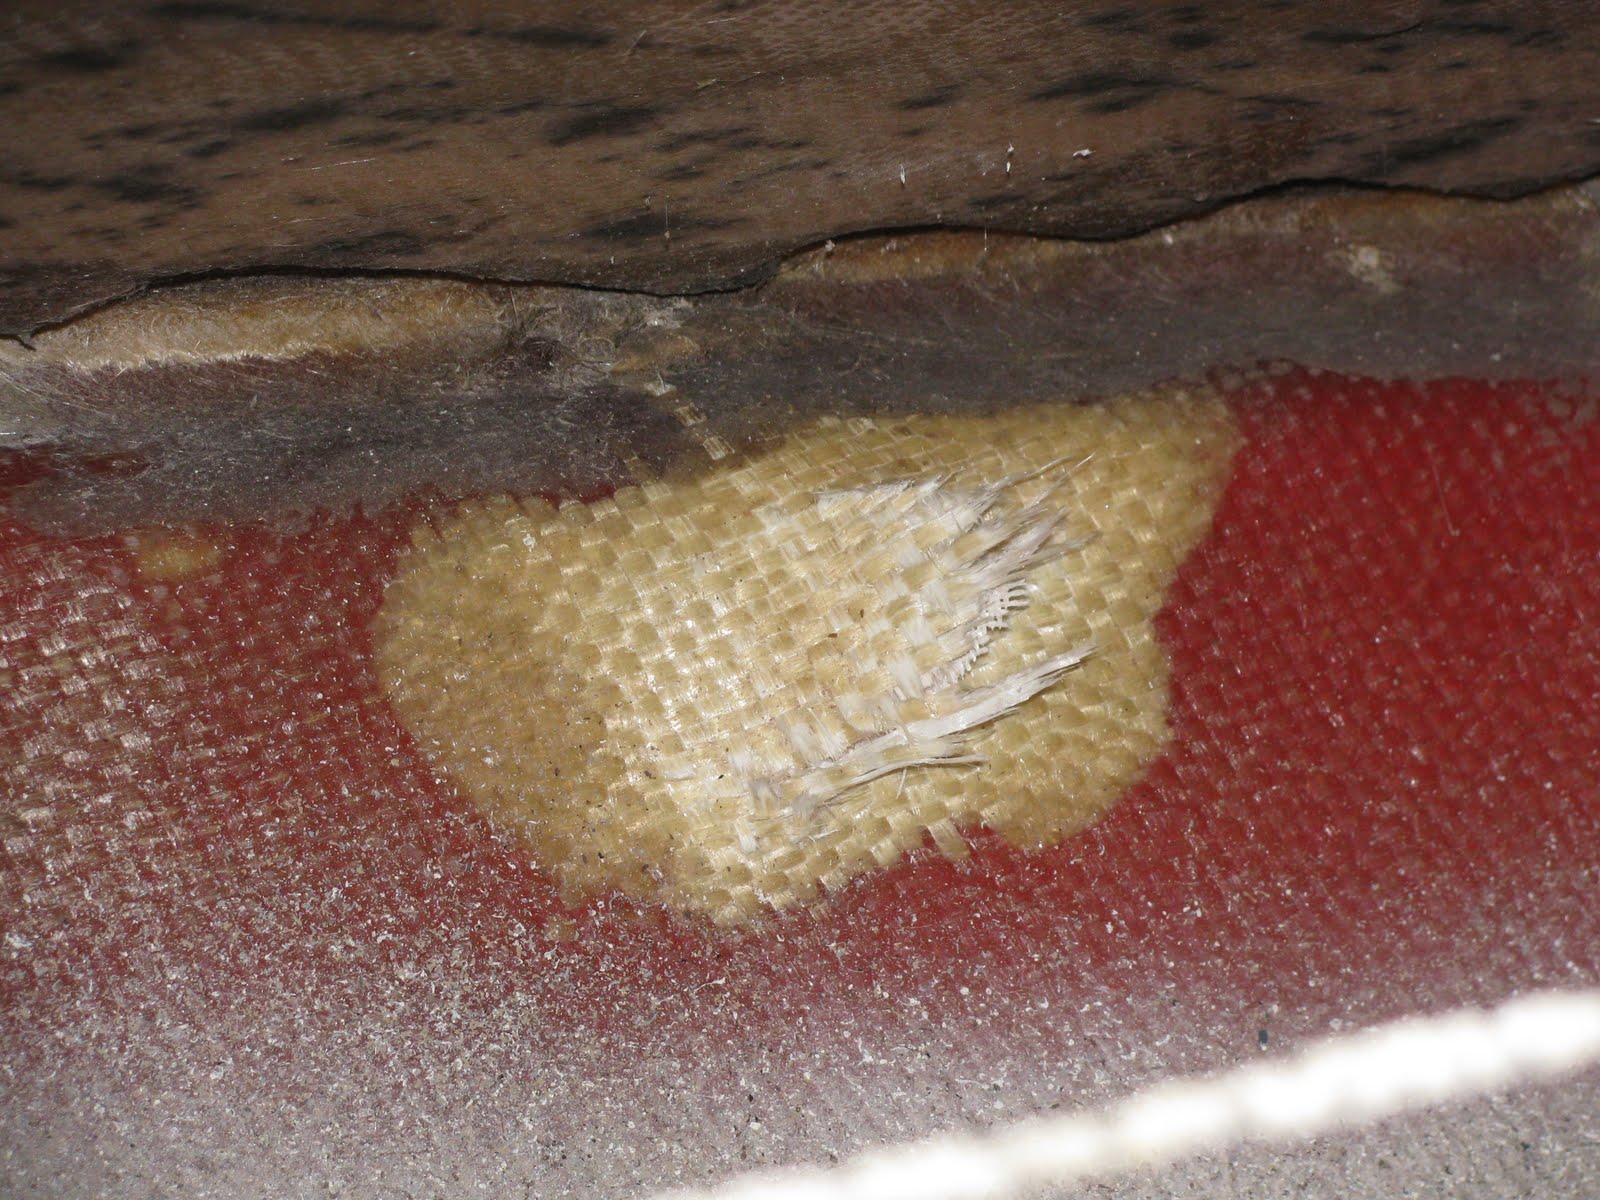
The hull cracks from below looking up
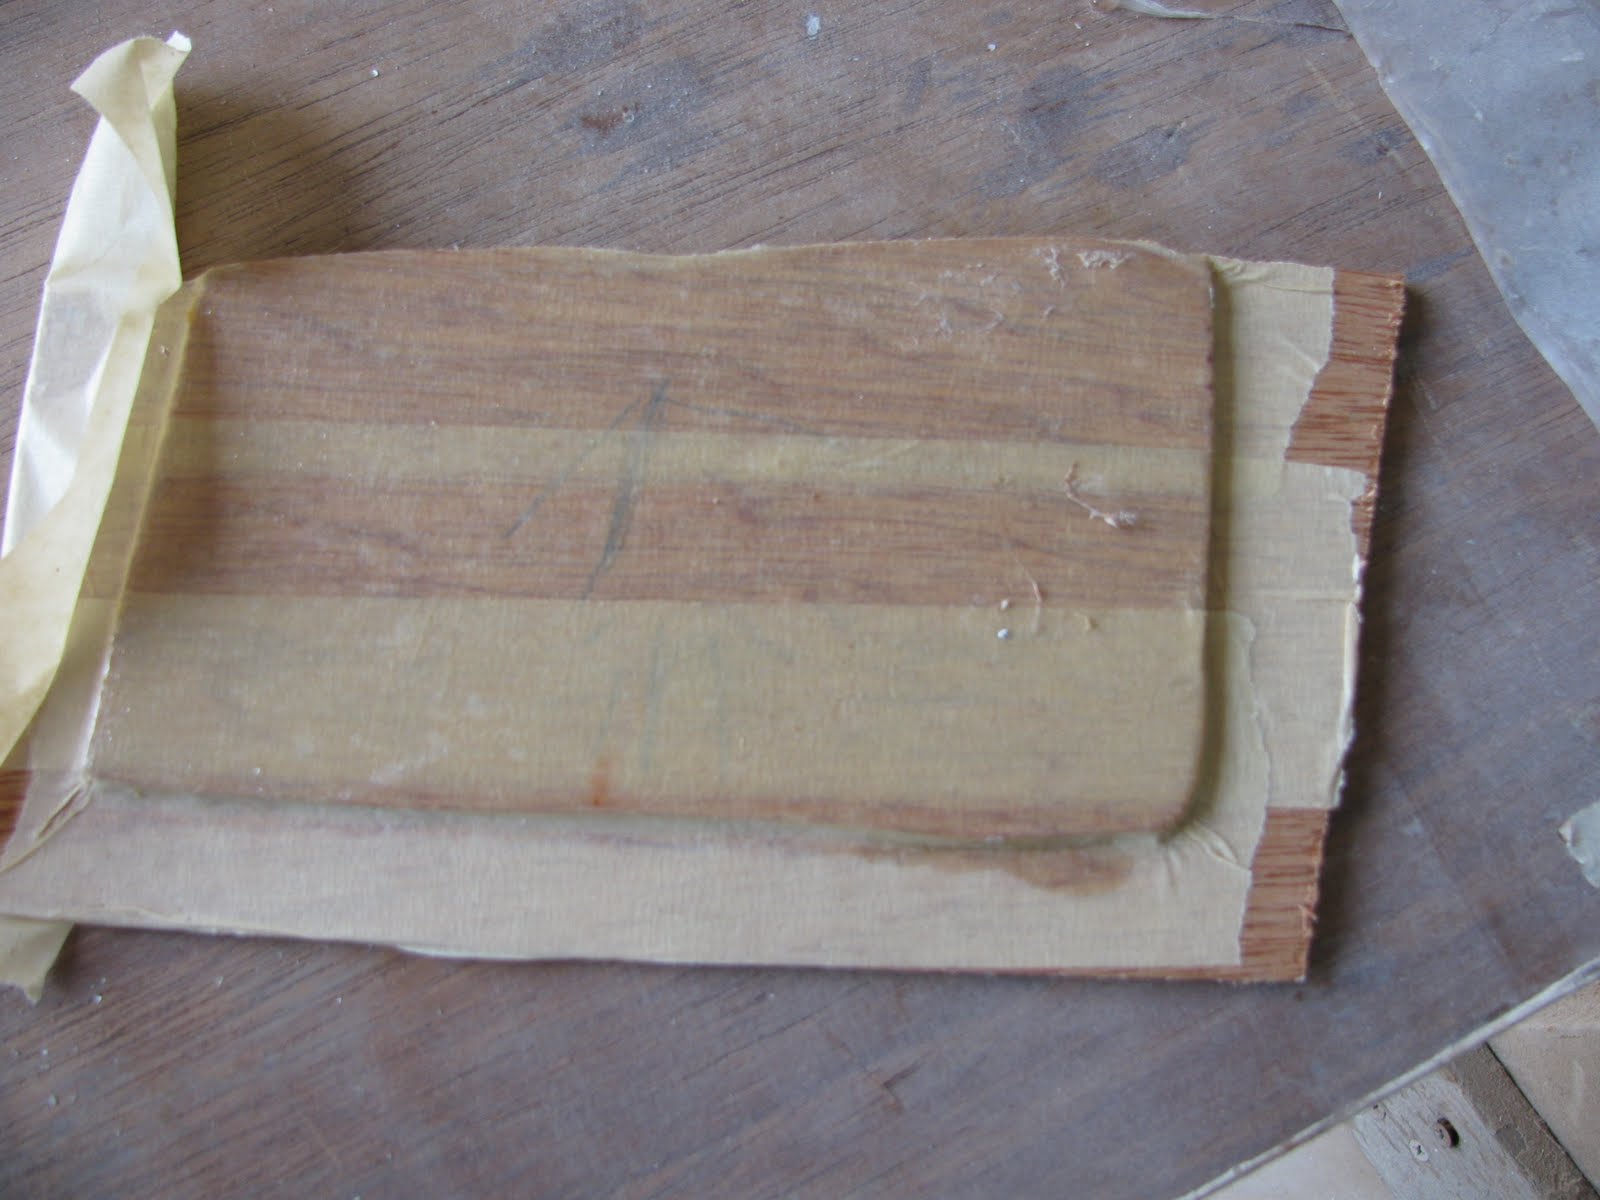
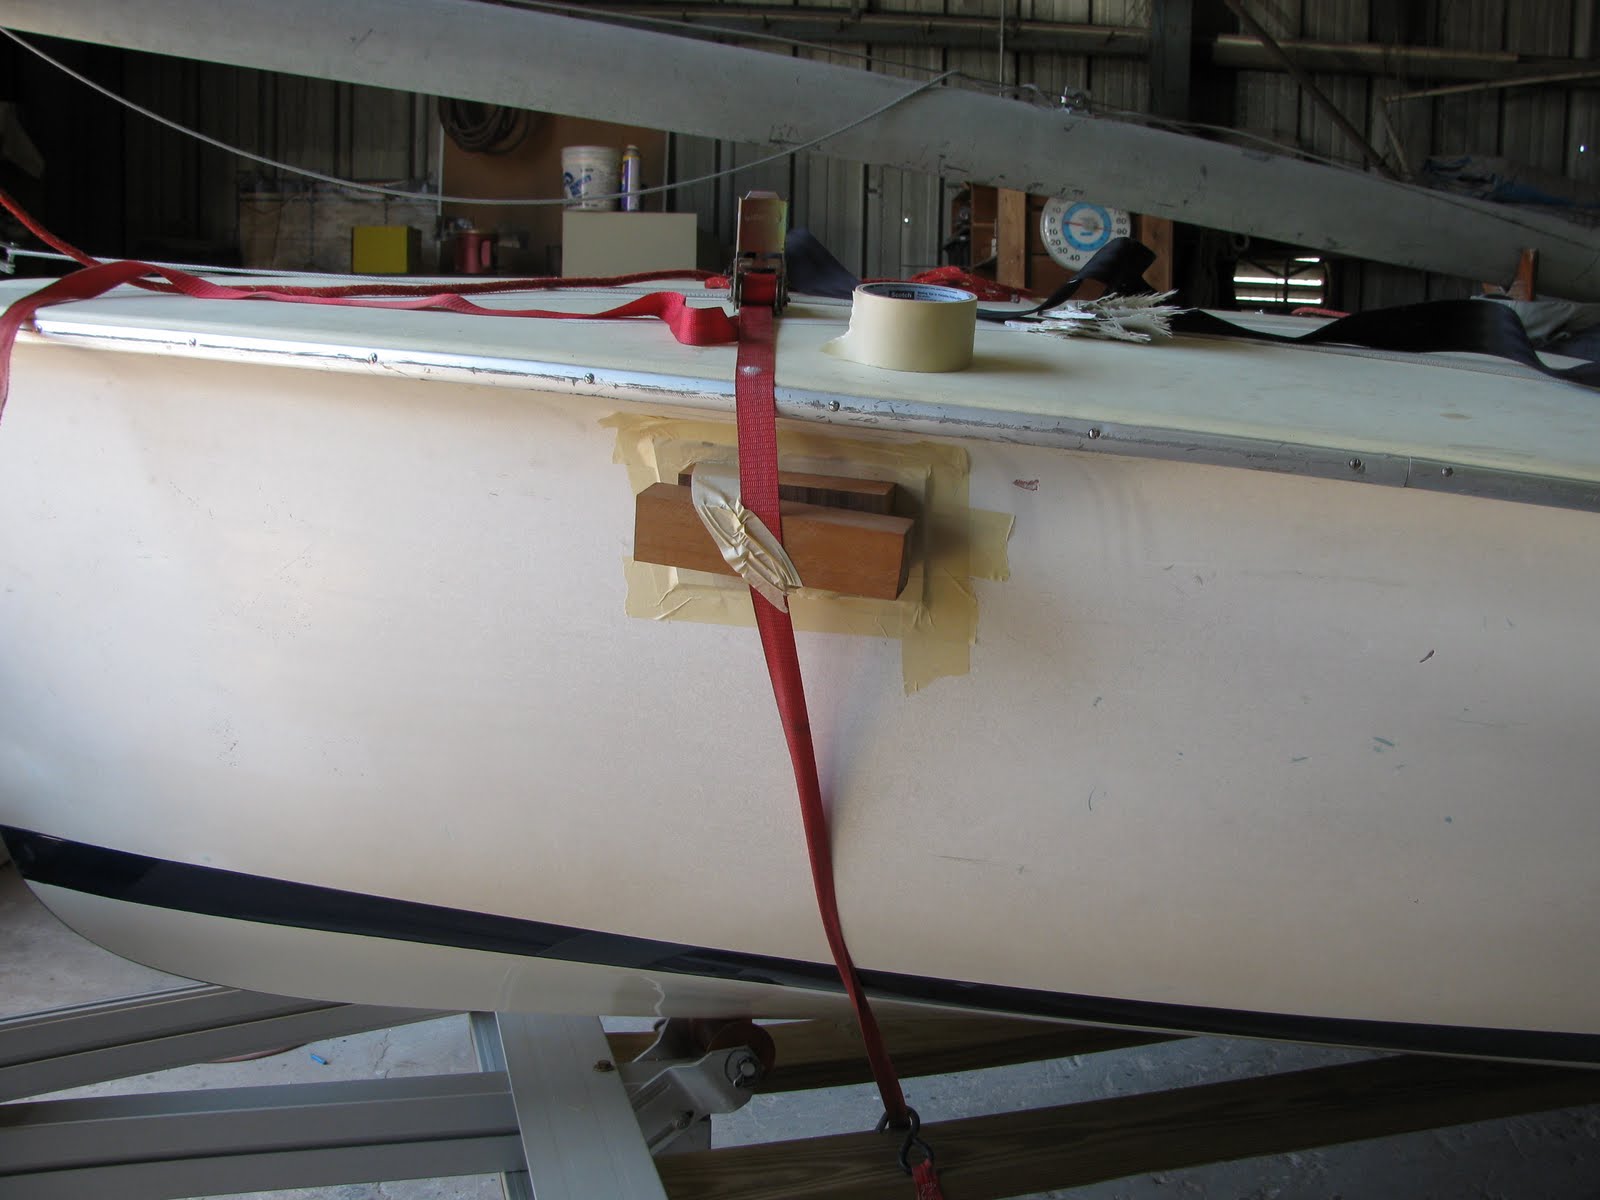
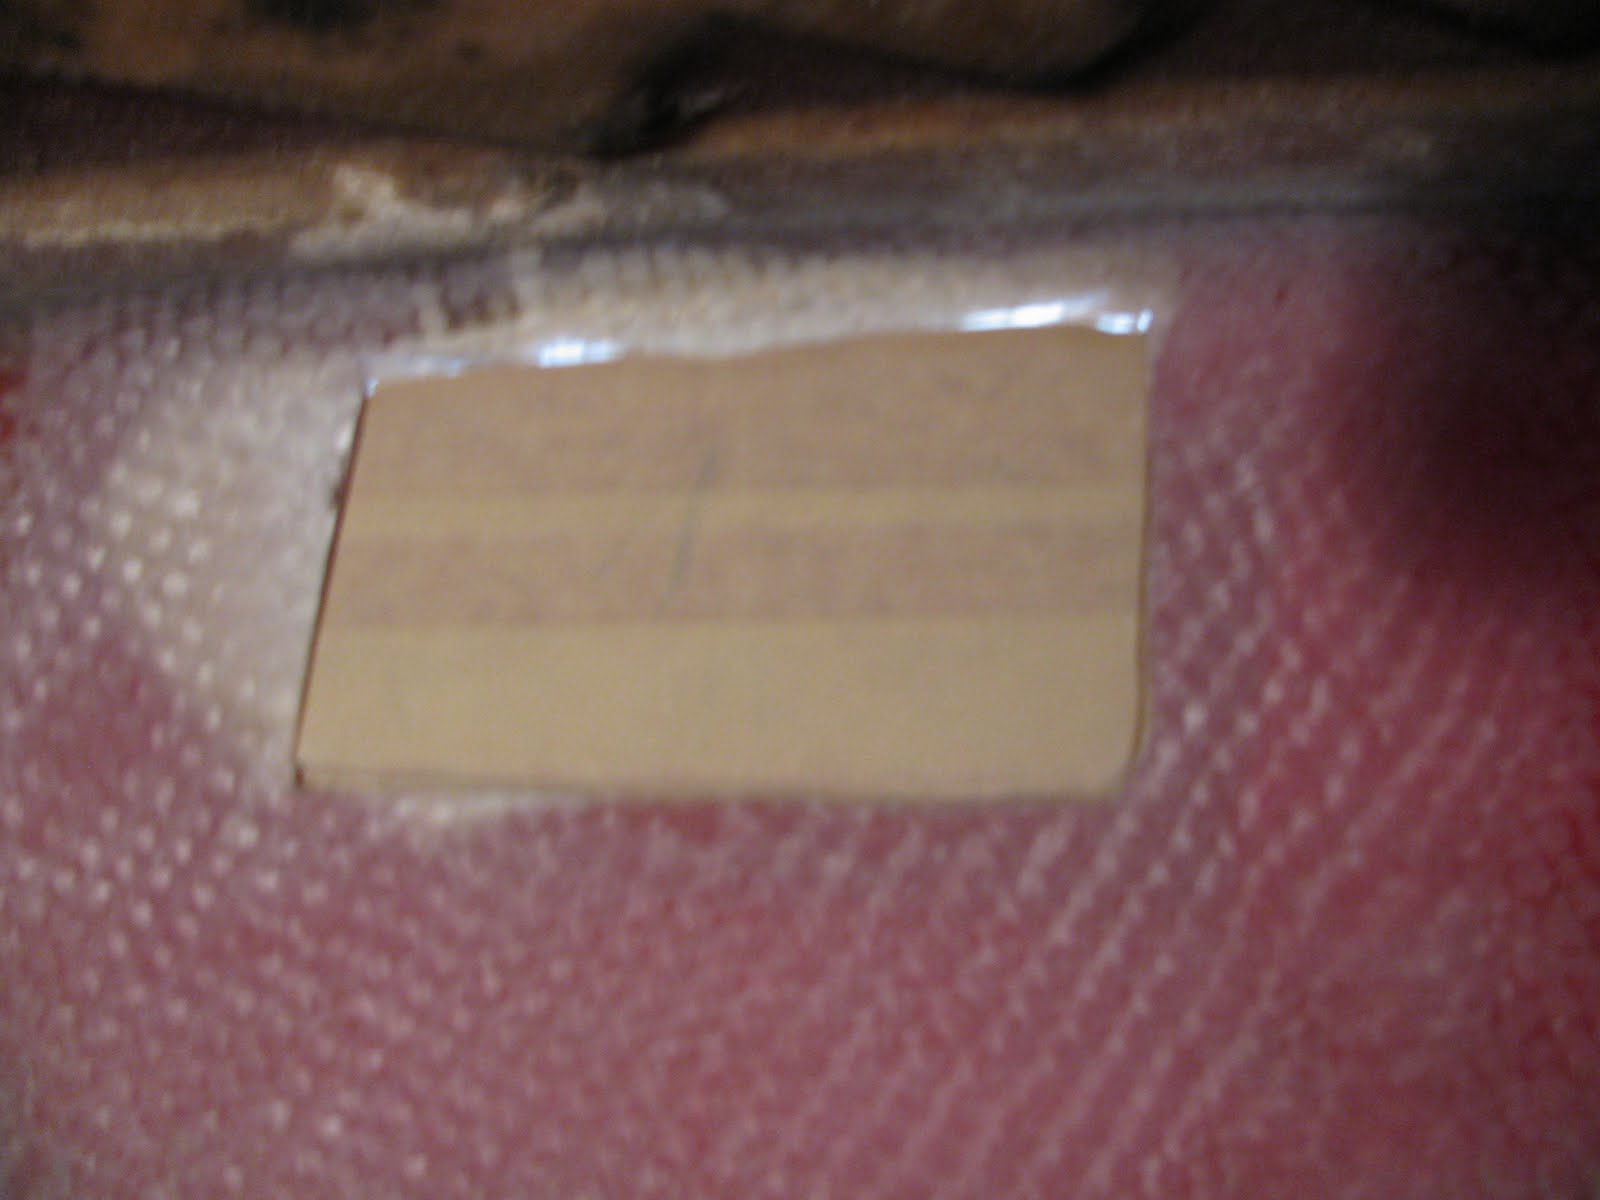
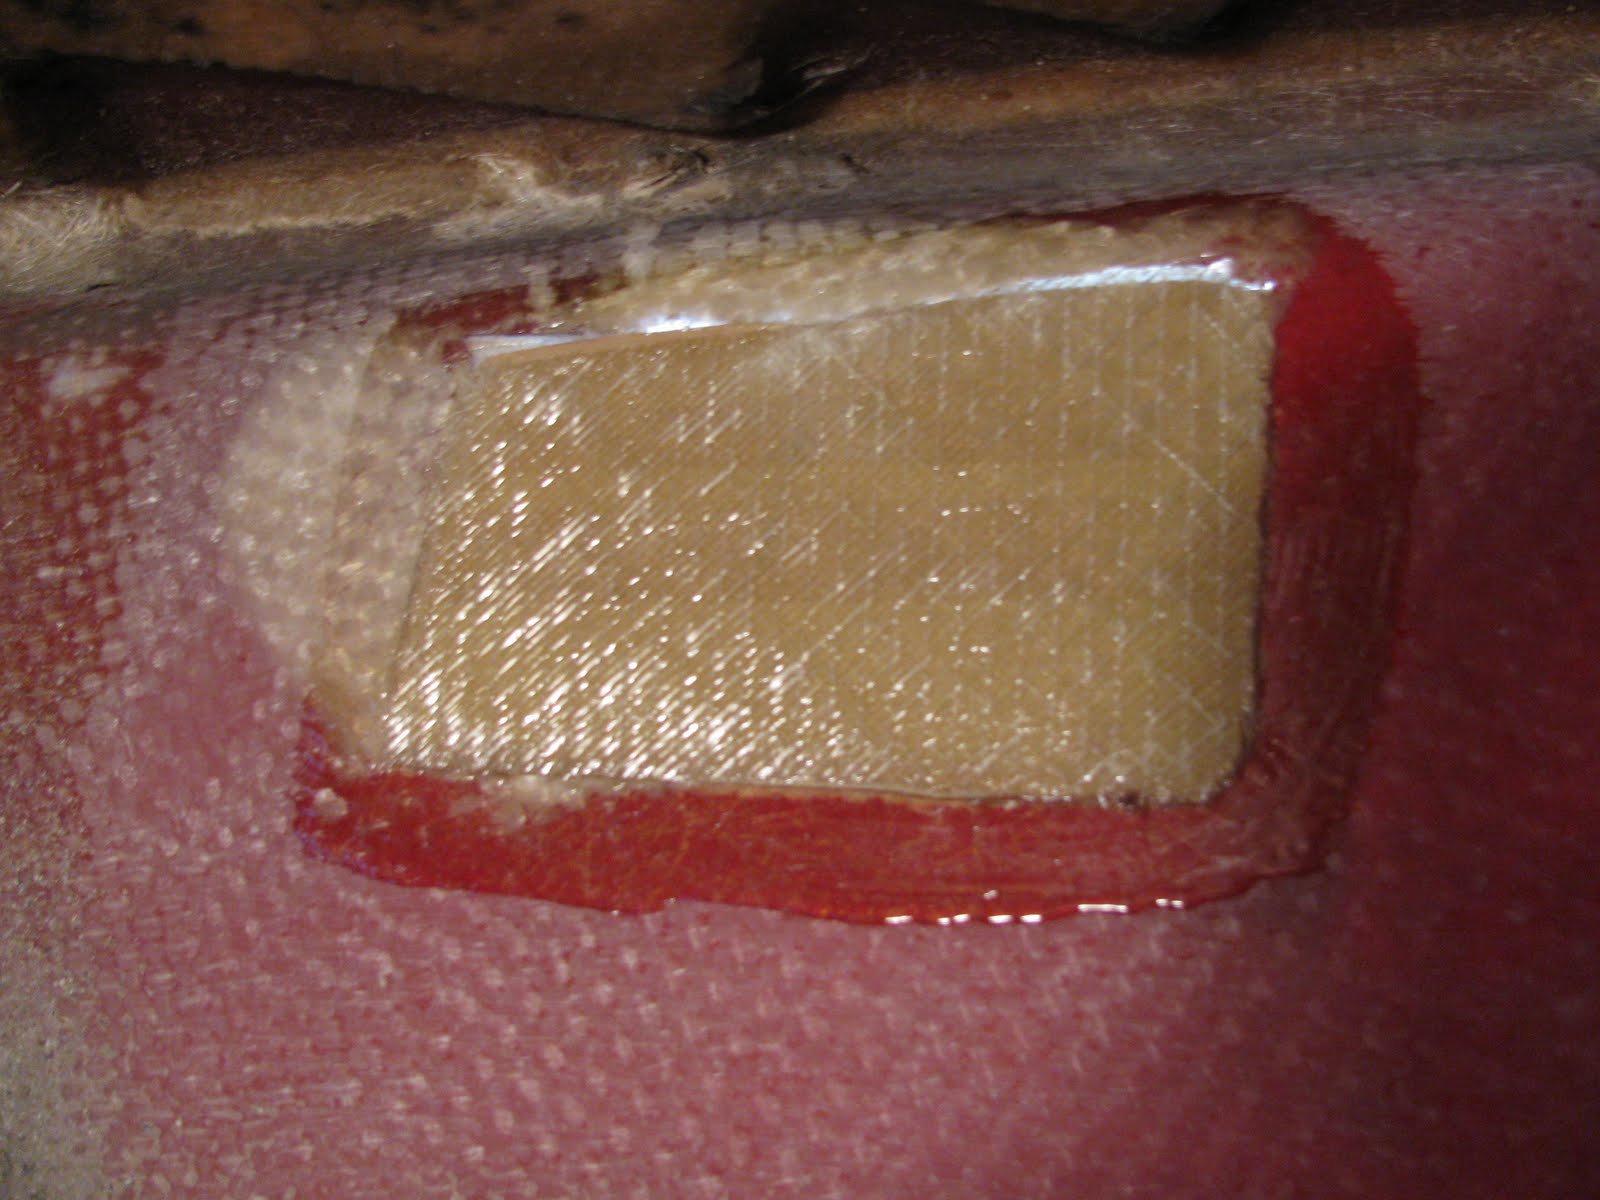
I have included some photos of the damage and a few more of the repair. Unfortunately, I did not think of the camera when doing the fiberglassing so that part is left to your imagination. Also, I decided to repair the deck but left the cracks in the hull alone since they aren’t too bad and I’m lazy. The deck repair was essential for two reasons; one is that it is cored with balsa so needs to be kept dry. The second and way more important reason was to keep the splintered fiberglass out of my ass.
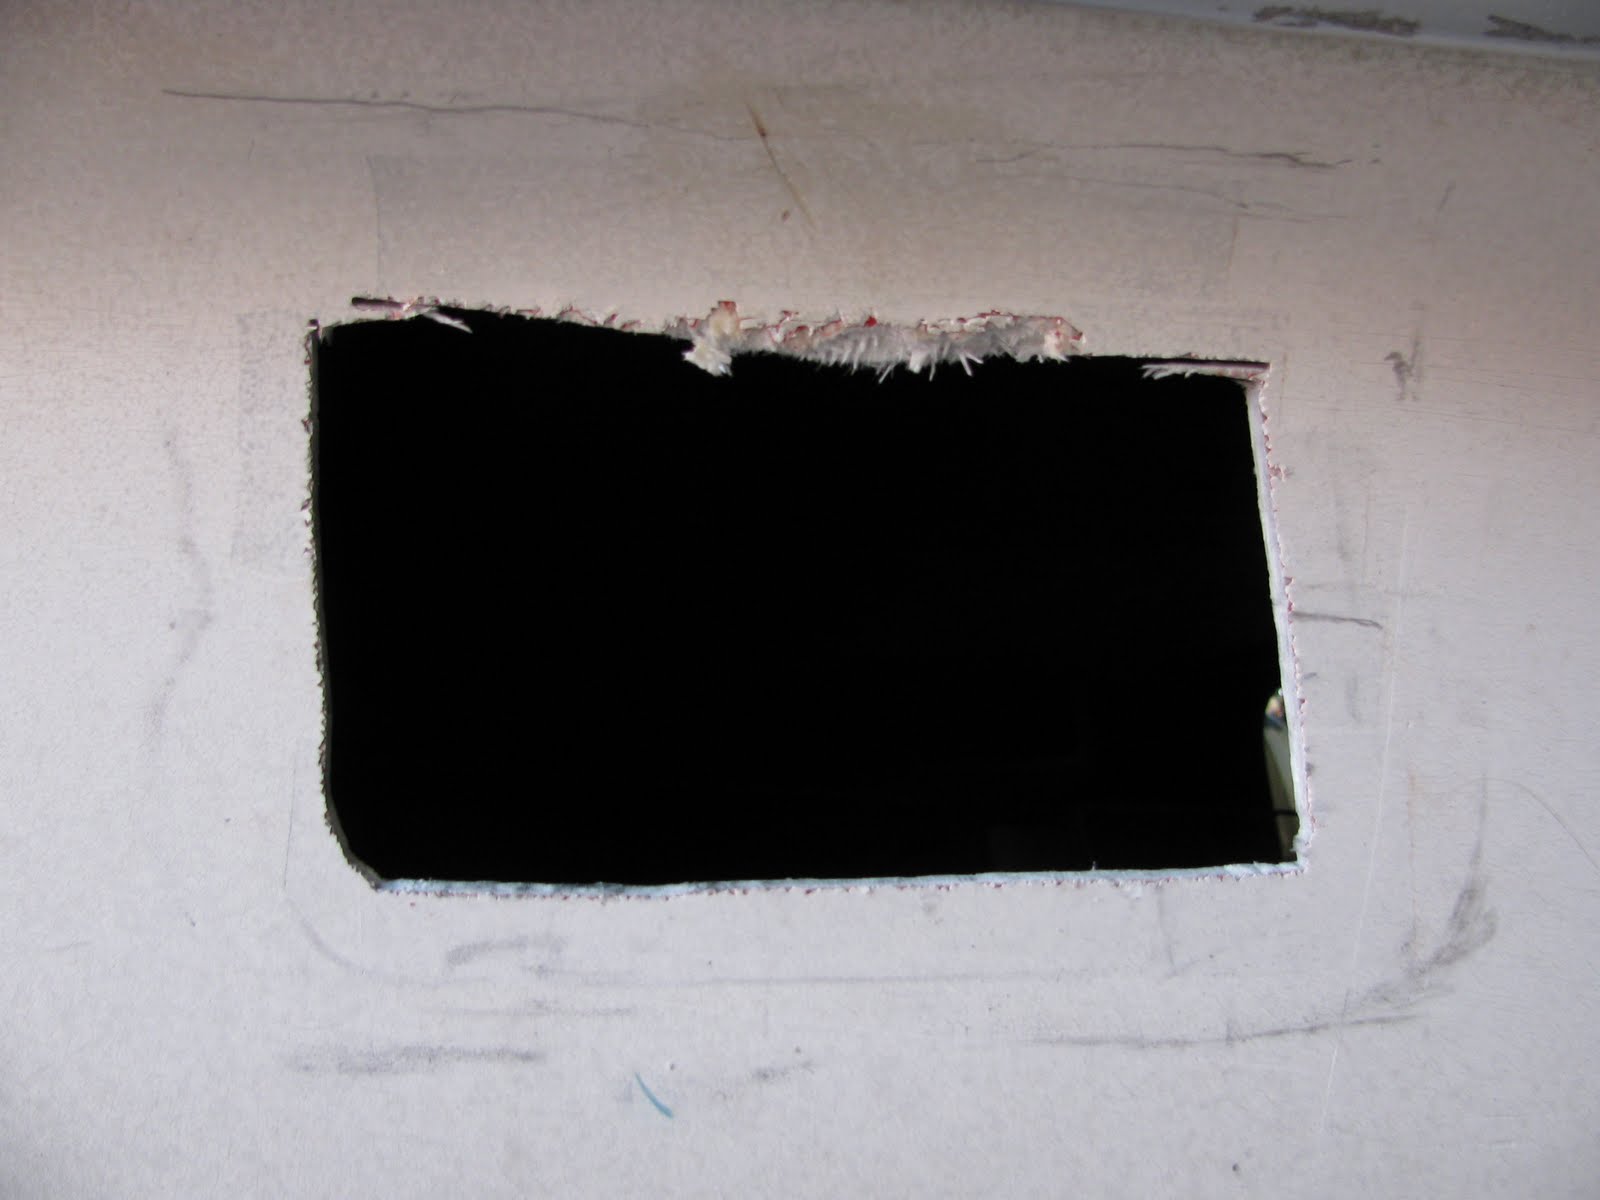
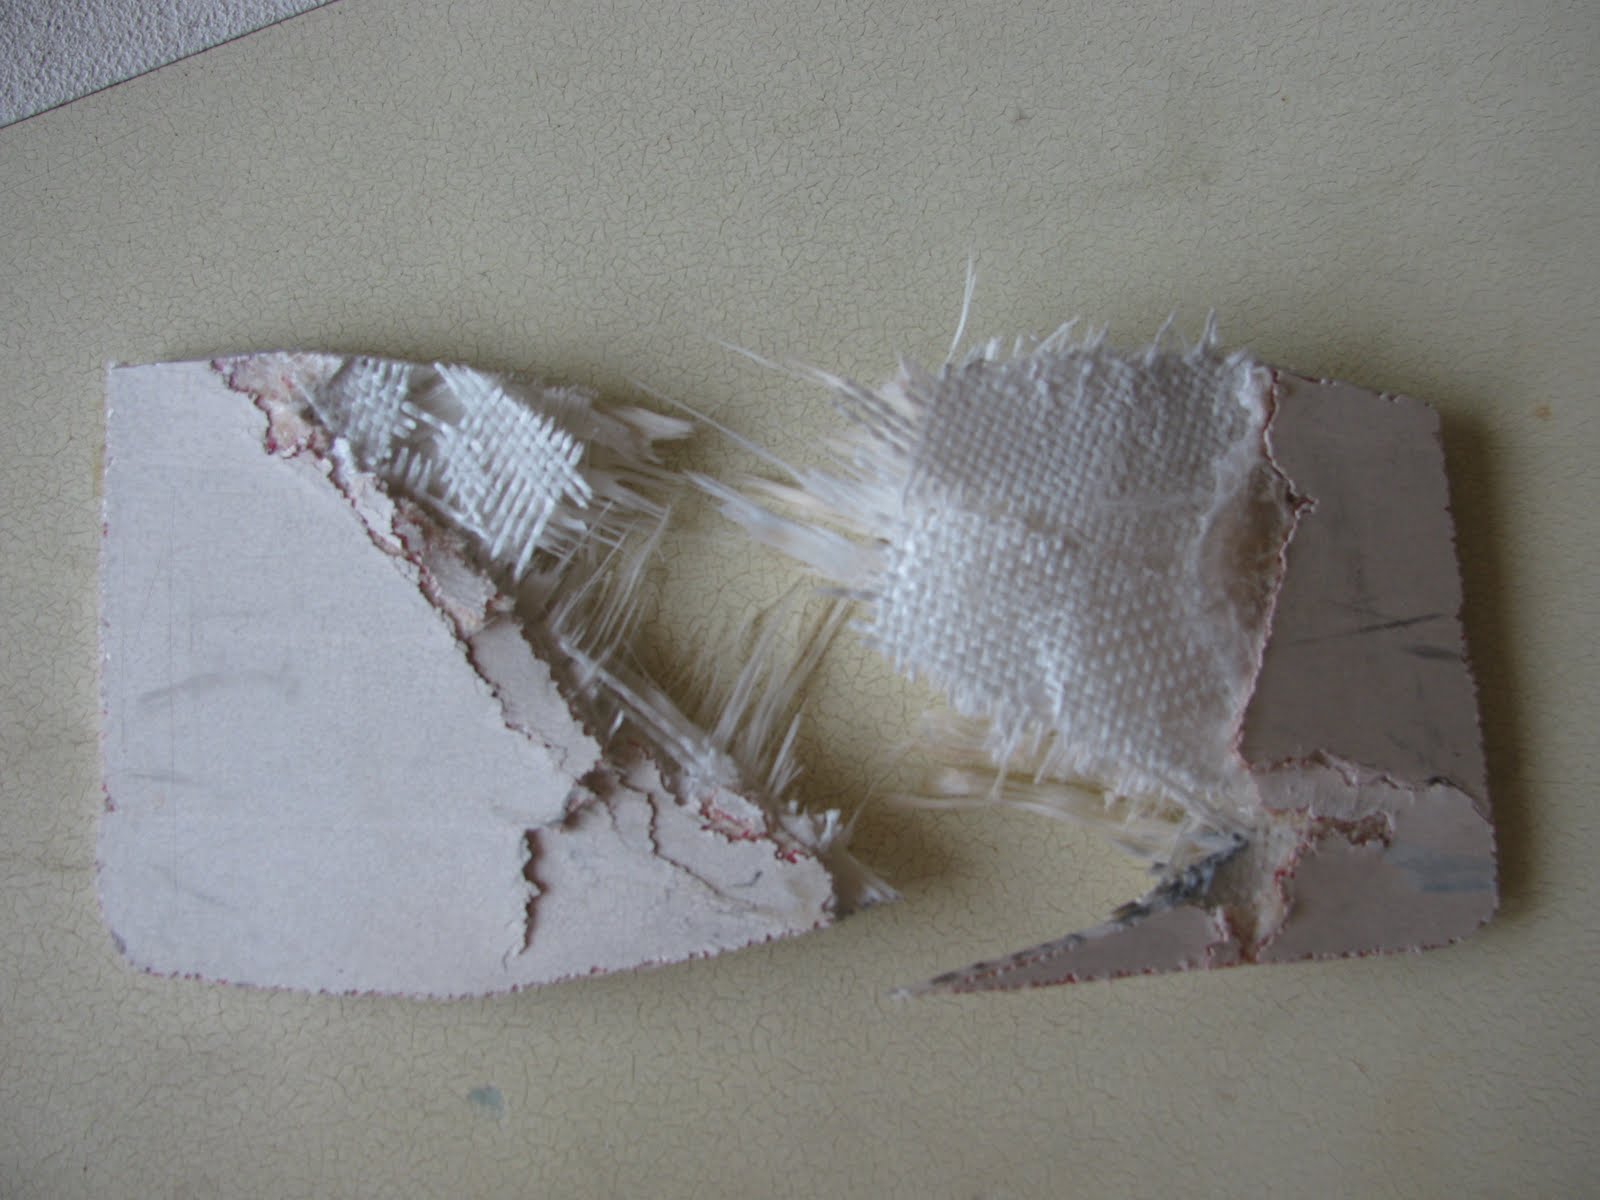
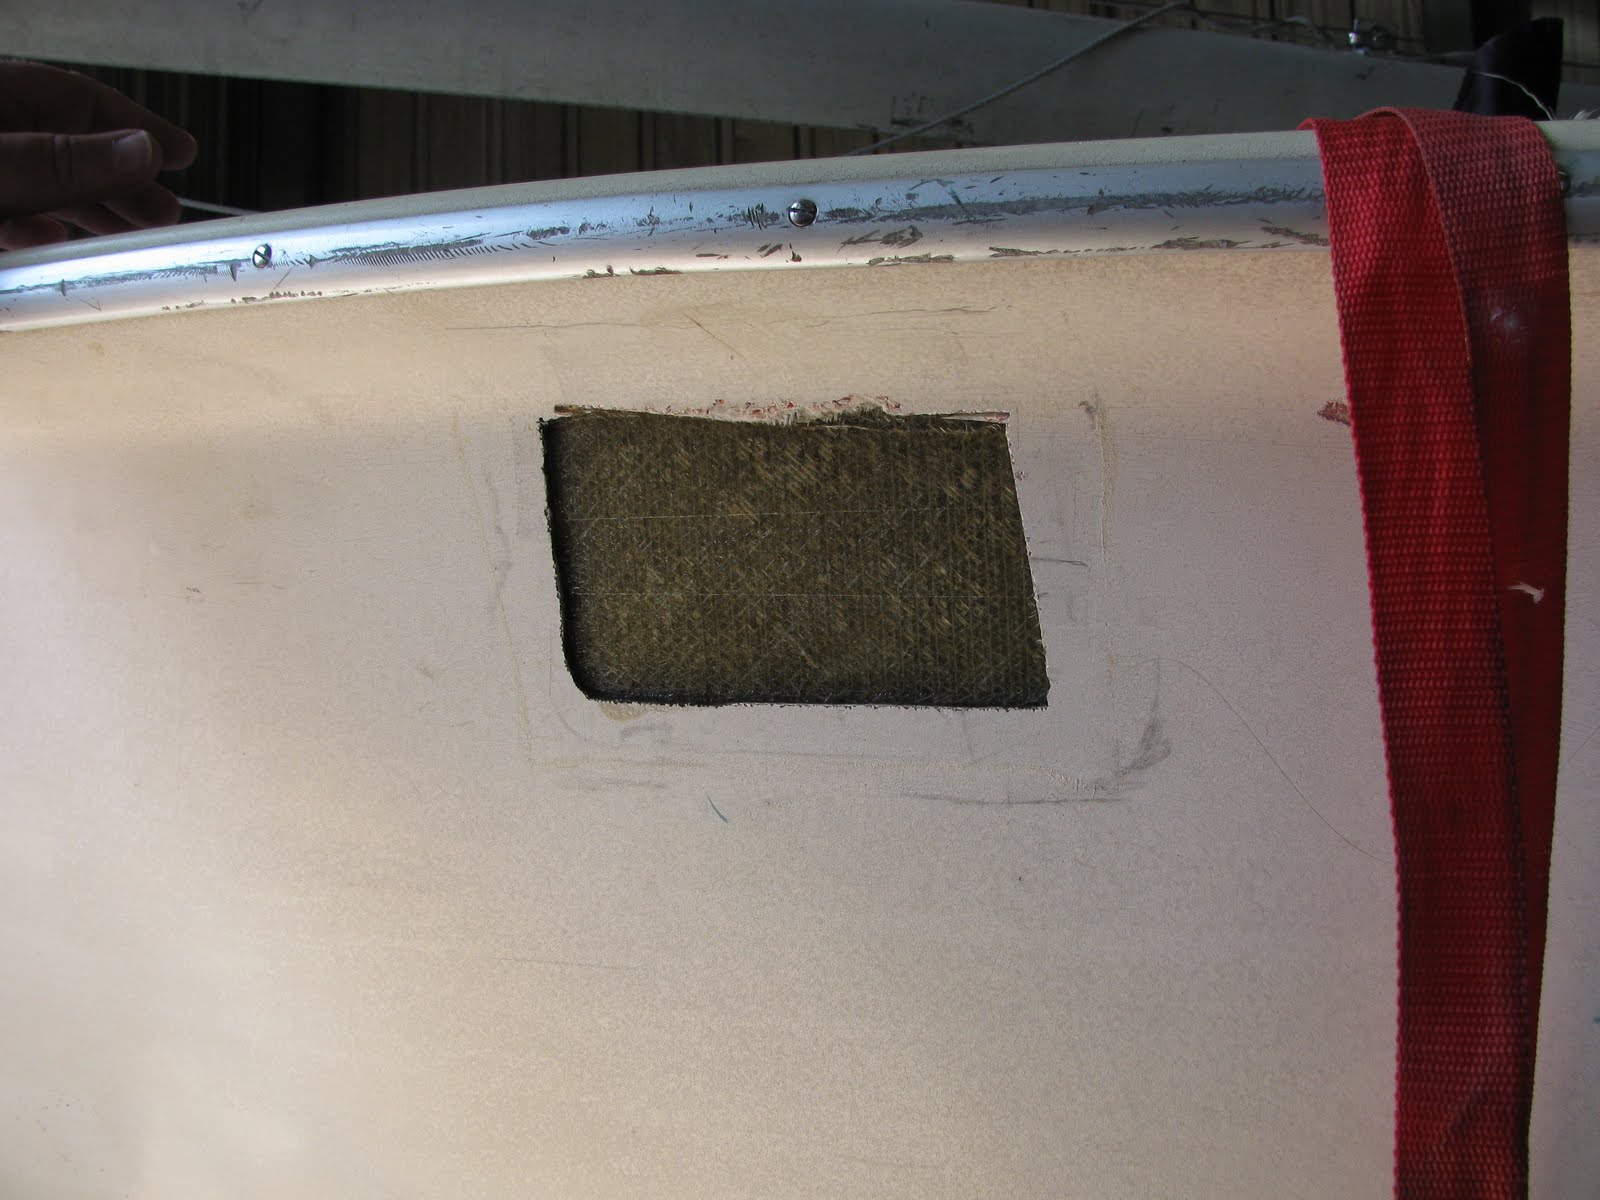
The first step was to remove the aluminum rub rail and then pick away the loose gelcoat and fiberglass resin to get down to a solid base. That turned out to be a little iffy since removing all of the fractured glass would have left an oval shaped hole about 1 by 2 inches. I was surprised at how much was broken when I started picking at it. Instead, I left some damaged glass to be the base to support the first of 3 layers of 18 oz. biax cloth. The third layer of cloth was sufficient to build up the area to just above the surrounding gelcoat. Once cured, it was sanded smooth and the flange was filed and shaped to accept the rub rail.
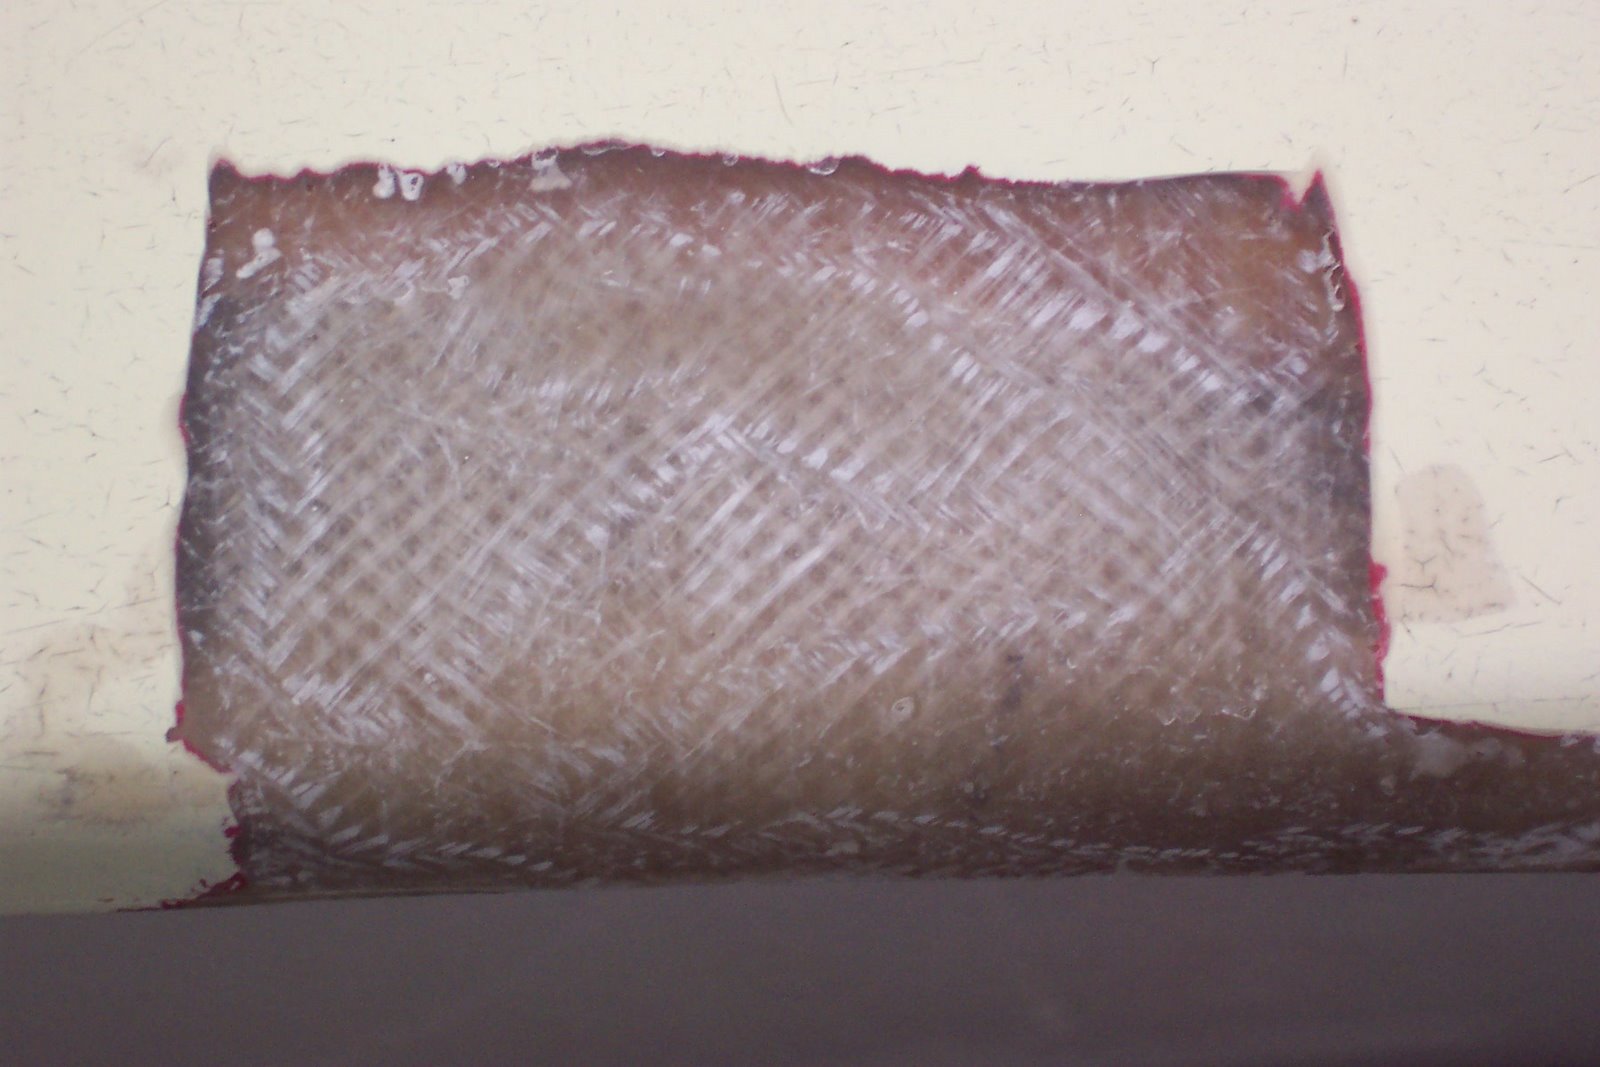
The patch after sanding smooth
One other thing I noticed was the balsa core became delaminated from the fiberglass deck in the surrounding area from the impact. It’s not very noticeable unless you get your eye close to the deck and sight it fore and aft. There is a small “hill” where it should be flat but fixing it would have meant a patch about 4 or 5 times as big and it is unnecessary except possibly for cosmetic reasons.
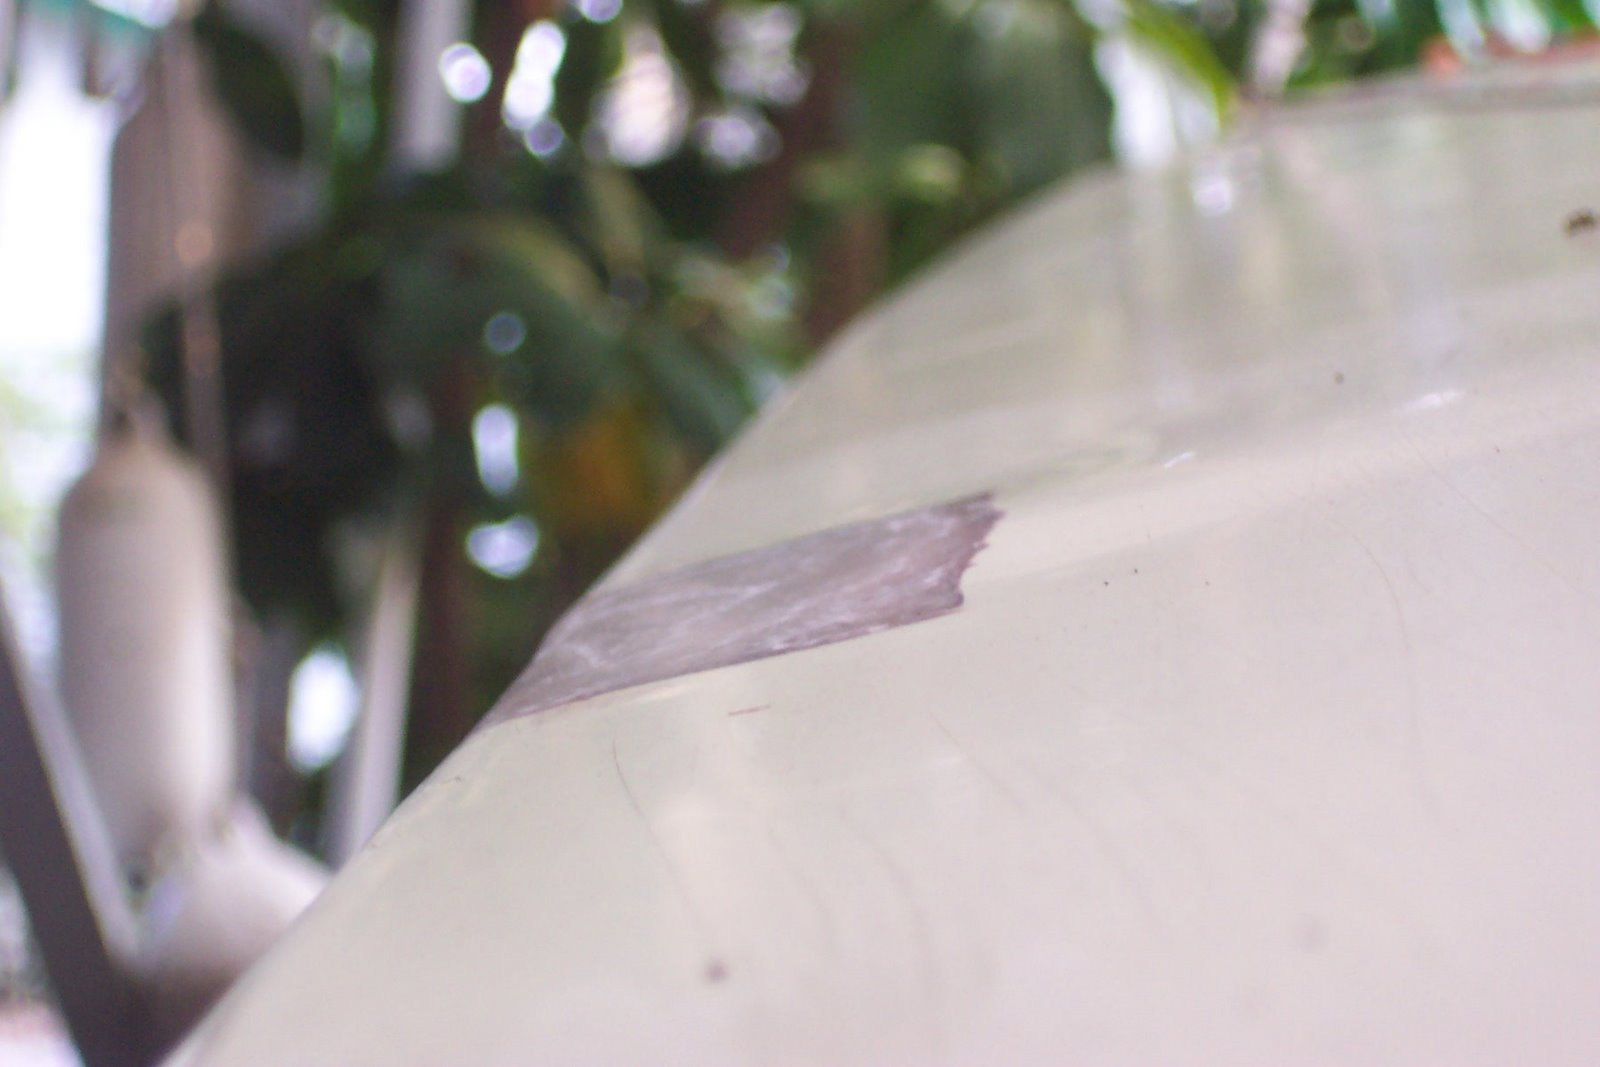
From the stern the small "hill" is visible to the right of the patch
The next step was to straighten the aluminum rub rail. I expected this to be a snap but as with most “simple projects” it took a little longer than I expected. It’s a little hard to describe but if you picture the rail in its mounted position it is easy to bend it away from or towards the boat. However, it is tricky to get it to bend up or down without it rolling over and bending side to side instead. A vise, two c-clamps, a hammer, some beer, some trial and error and about an hour later it was acceptable.
With the rub rail installed it looks ok, for an old, semi-ugly boat. Actually the photos make the repair look worse than it is. If you run your hand over the patch it is very smooth and fair but in the photos it doesn't look that way, I thought about painting over the patch (and several others on the aft deck) with some white primer I have on hand but decided against it. PIG PEN is a 1965 model with a very faded yellow deck so I may pick up some pale yellow paint to match a little better. Kim seems to enjoy looking at paint color chips in Home Depot so that may be in her future.

Near deck level of finished repair
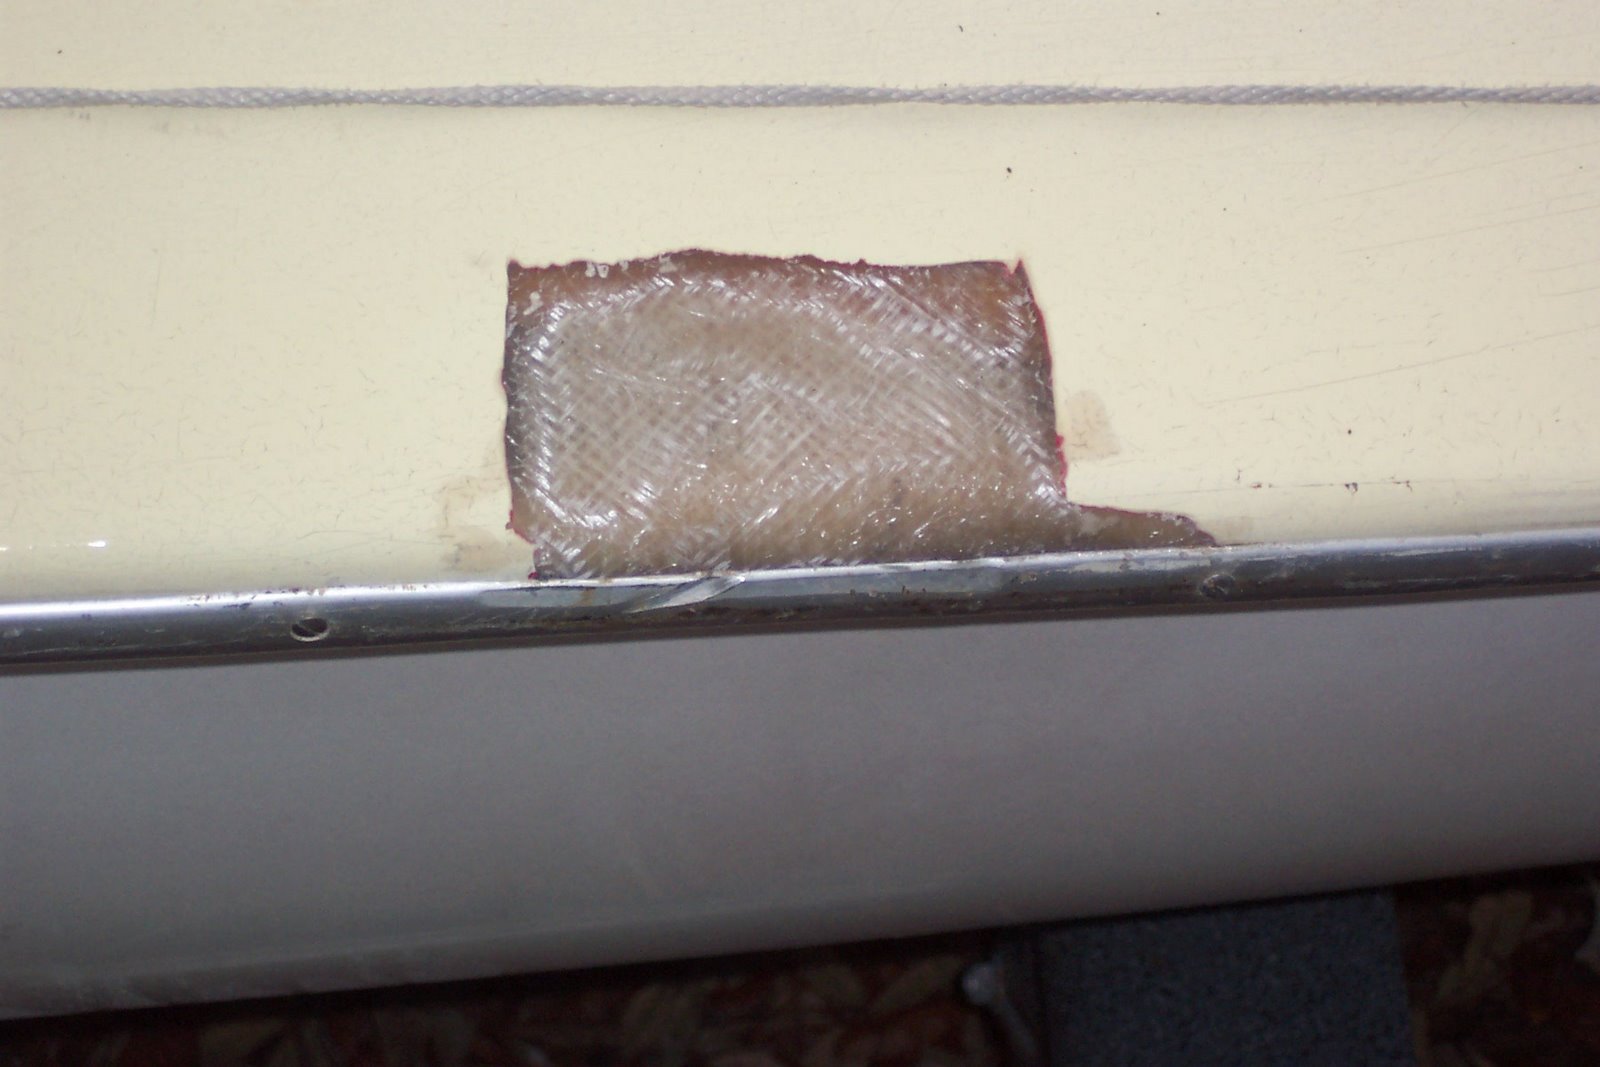
From above...
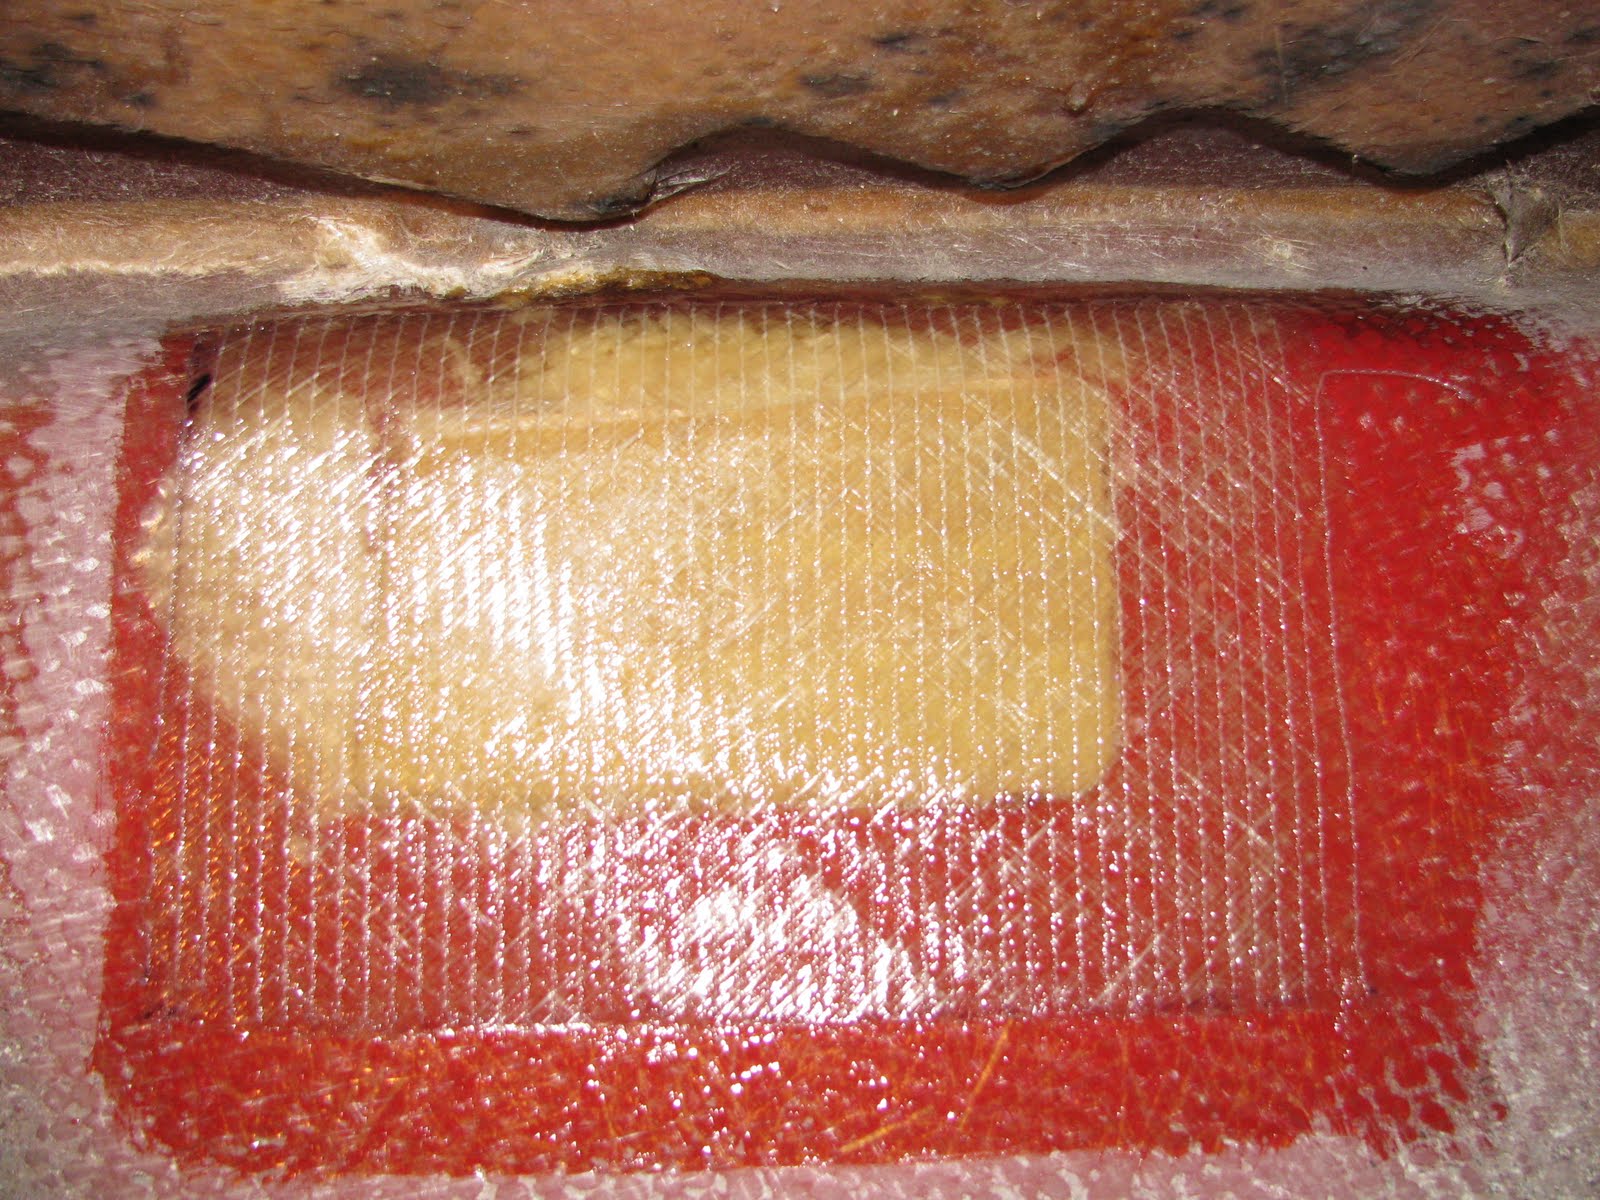
Once the work was completed I decided to look inside the hull to see if any resin had dripped through the repair area, I had forgotten to place a rag to catch them. No drips but the 3 fiberglass straps that hold up the Styrofoam blocks were all detached from the hull. They remain attached to the underside of the seat, so not a big deal but it would have been nice to know when I had the batch of resin going. OK, so I’ll use 5200 instead…..
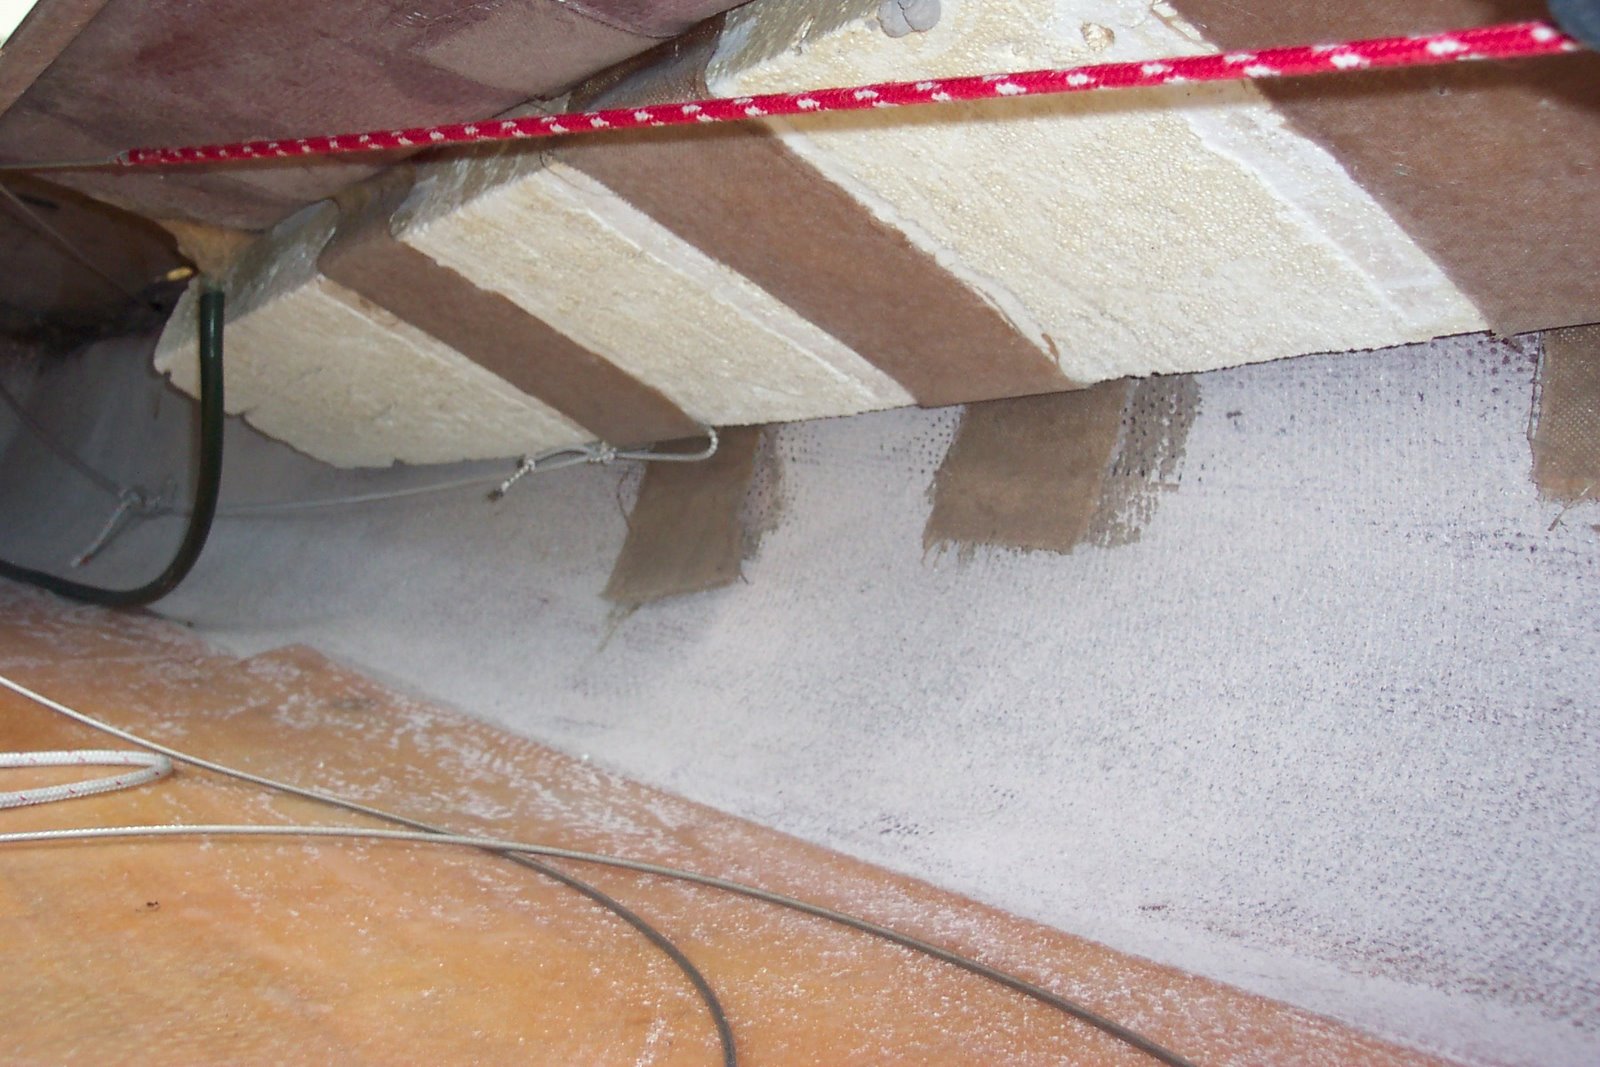 Port side strofoam blocks hanging down a bit
Yep, dried up in the tube….
Maybe some duct tape....